AQUILA - Elastic Defend Host Isolation Exception
Overview
ElasticHost DefendIsolation Exception allows isolated endpoints to maintain connectivity to specific IP addresses while remaining isolated from the rest of the network. This feature is useful when you need to isolate potentially compromised hosts for security purposes while still allowing them to communicate with specific trusted resources.
Prerequisites
- Administrator permissions
- Access to the Control Panel section
Step-by-Step Guide
1. Navigate to Endpoint Management
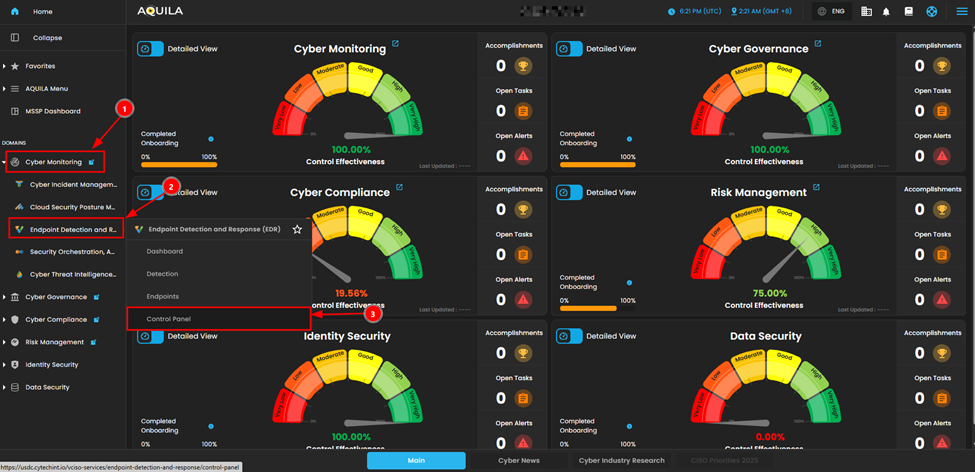
- From the AQUILA main dashboard, locate the left sidebar menu
- Under the DOMAINS section, click on Cyber Monitoring
- Select Endpoint Detection and Response (EDR)
- Click on Control Panel
This will open the endpoint management interface.
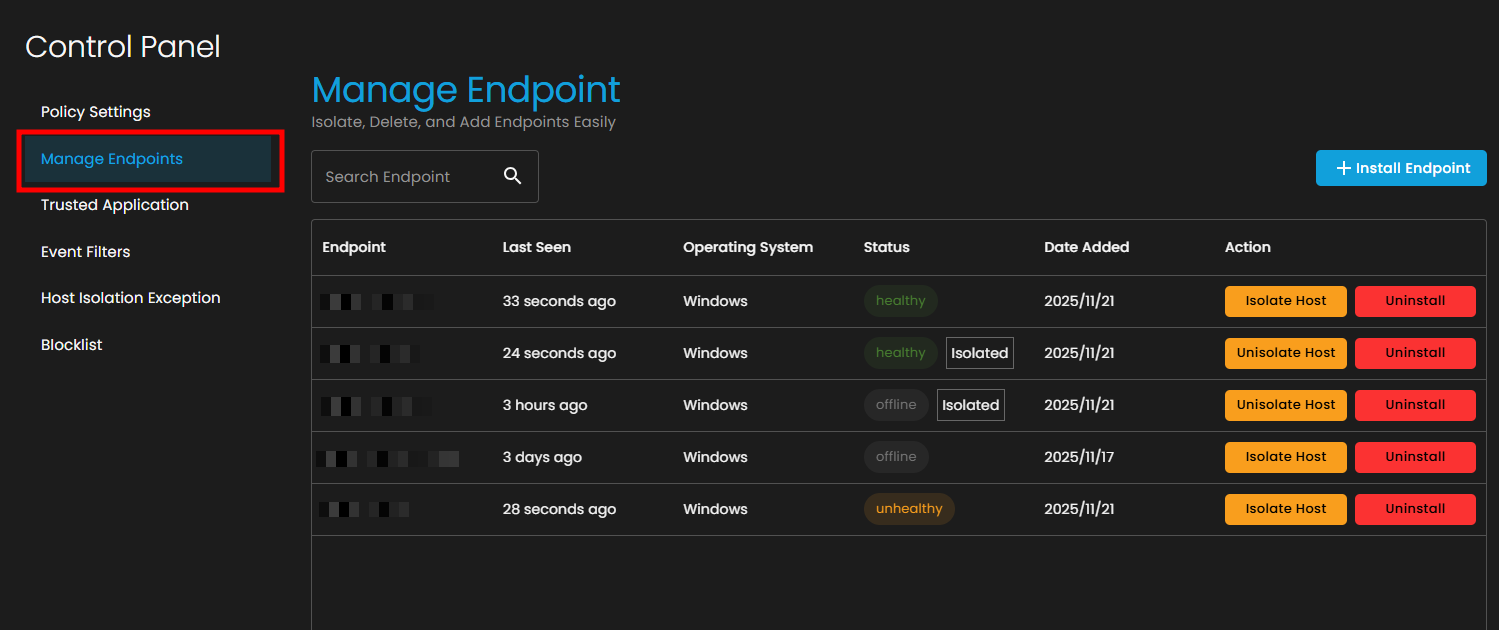
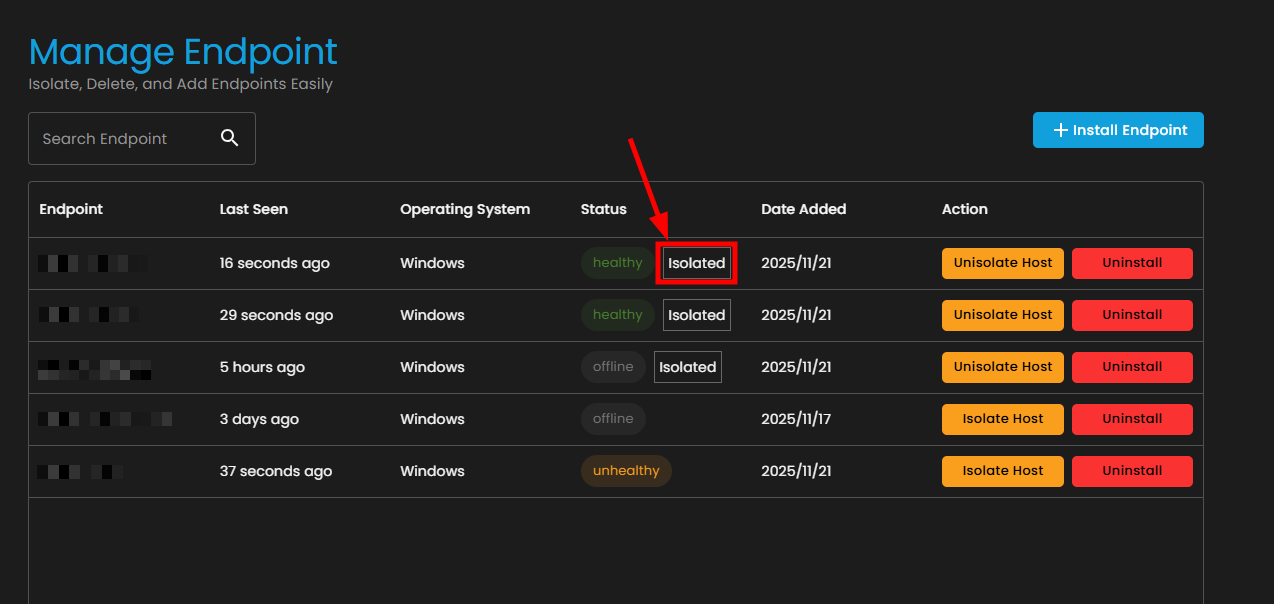
2. Access the Manage Endpoints Section
- In the Control Panel, click on Manage Endpoints from the Policy Settings menu.

- You'll see a table displaying all registered endpoints with the following information:
- Operating System
- Status (healthy, unhealthy, offline, isolated)
- Date Added
- Available Actions
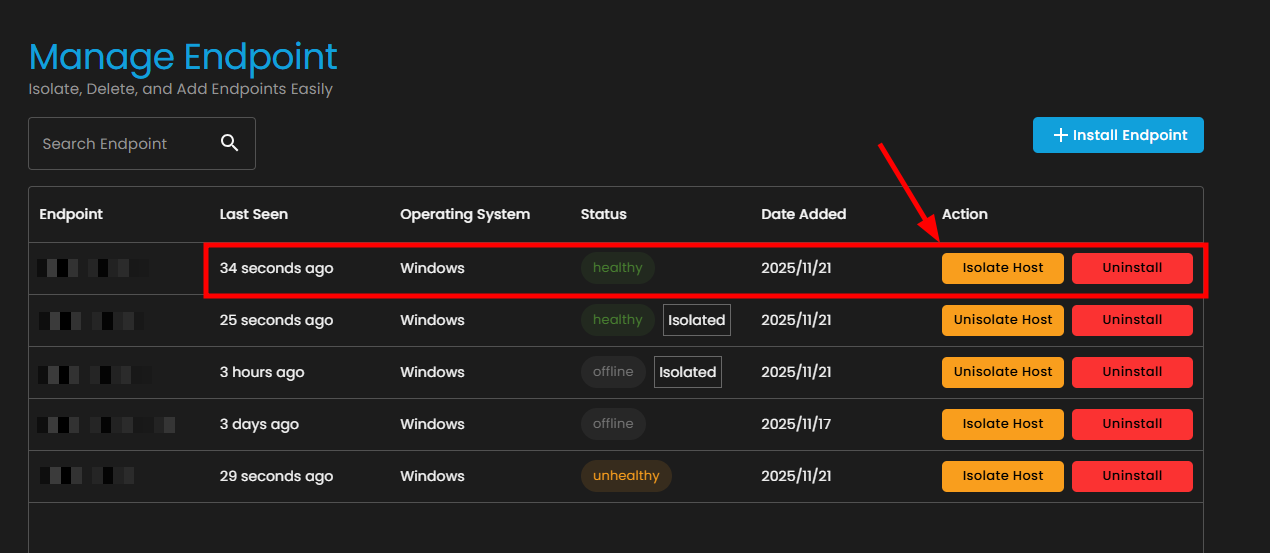
3. Isolate an Endpoint
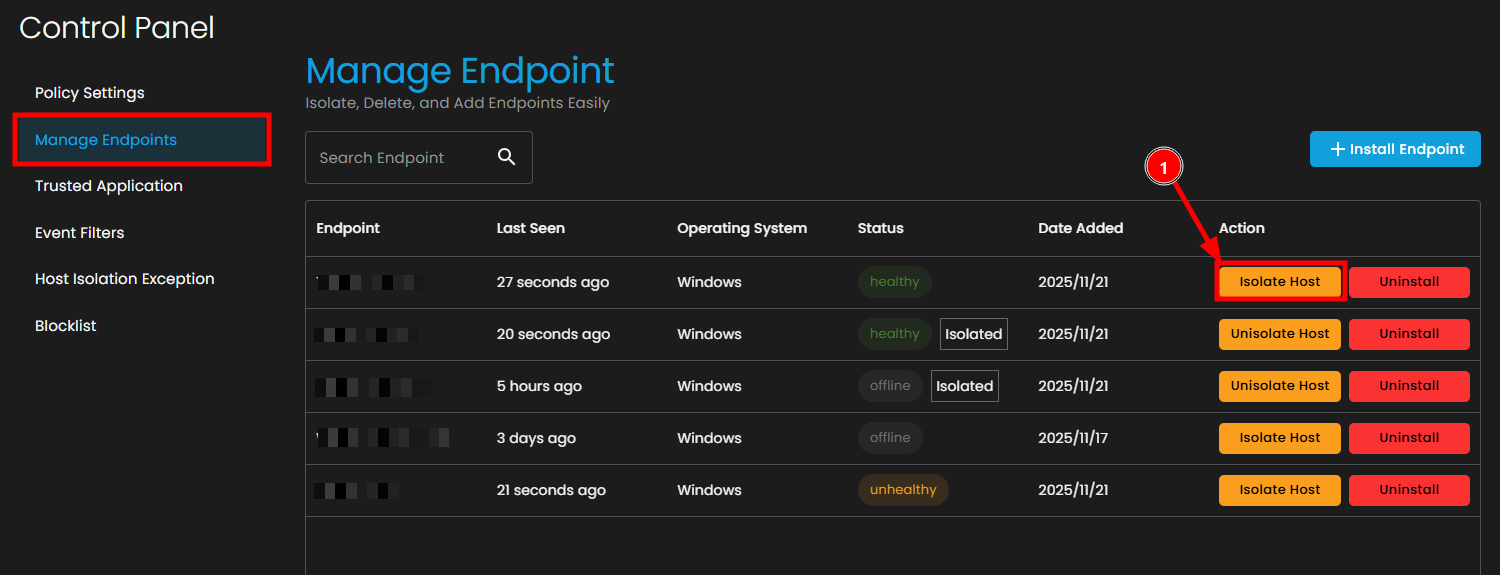
If you need to isolate an endpoint first:
- Locate the target endpoint in the list
- Click the Isolate Host button in the Action column
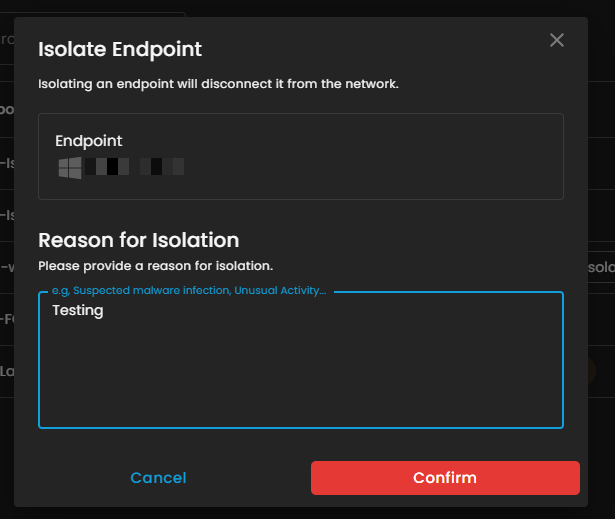
- In the "Isolate Endpoint" dialog box:

- Click the Confirm button to proceed
- The endpoint status will change to Isolated


Note: Once isolated, the endpoint will be disconnected from the network and unable to access external resources except those specified in the Host Isolation Exception list.
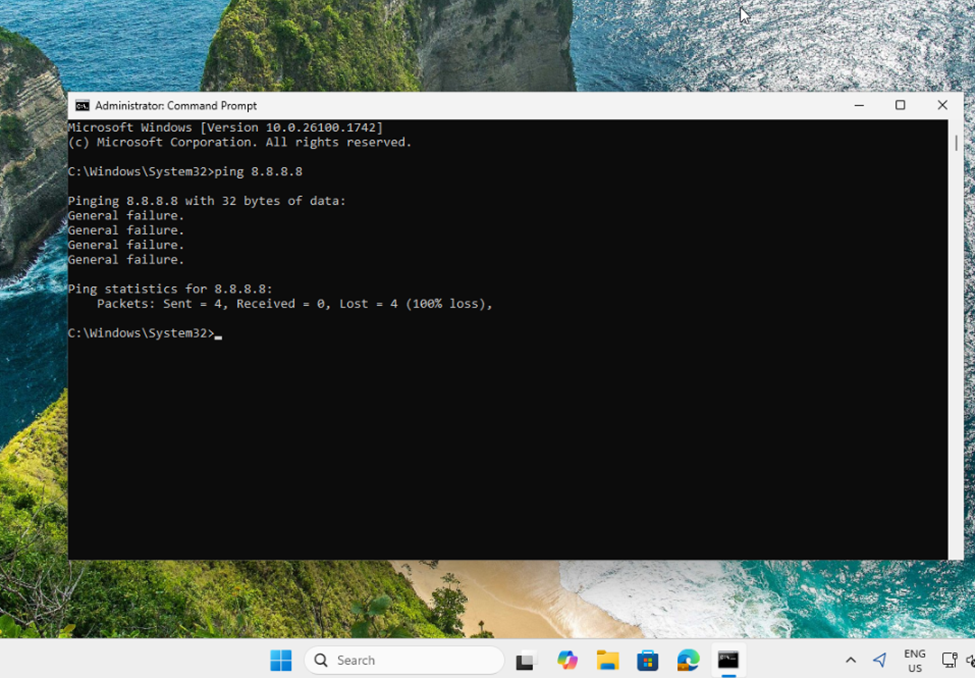
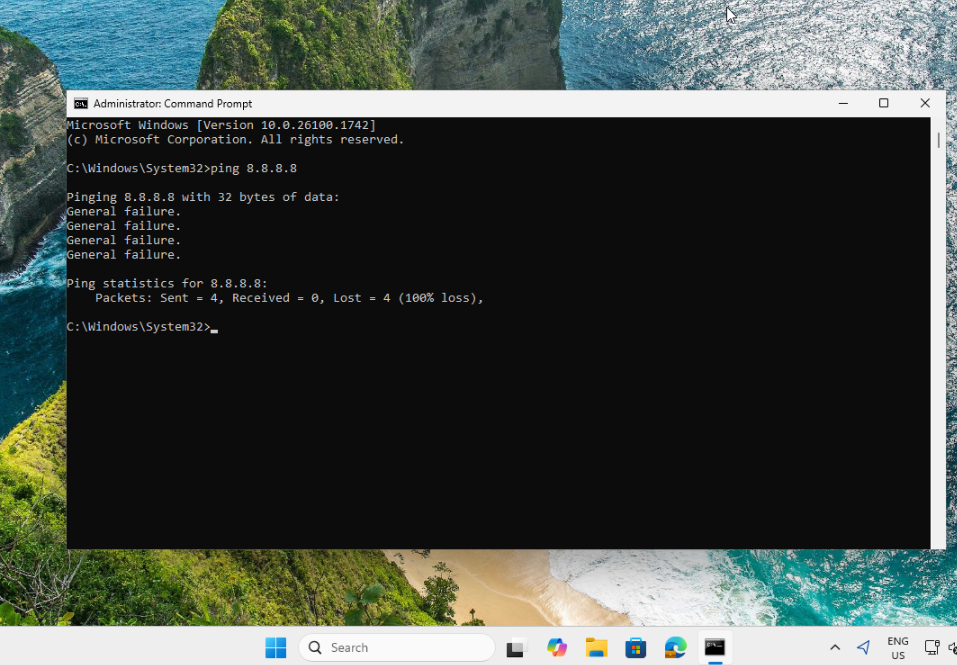
4. Verify Isolation Status
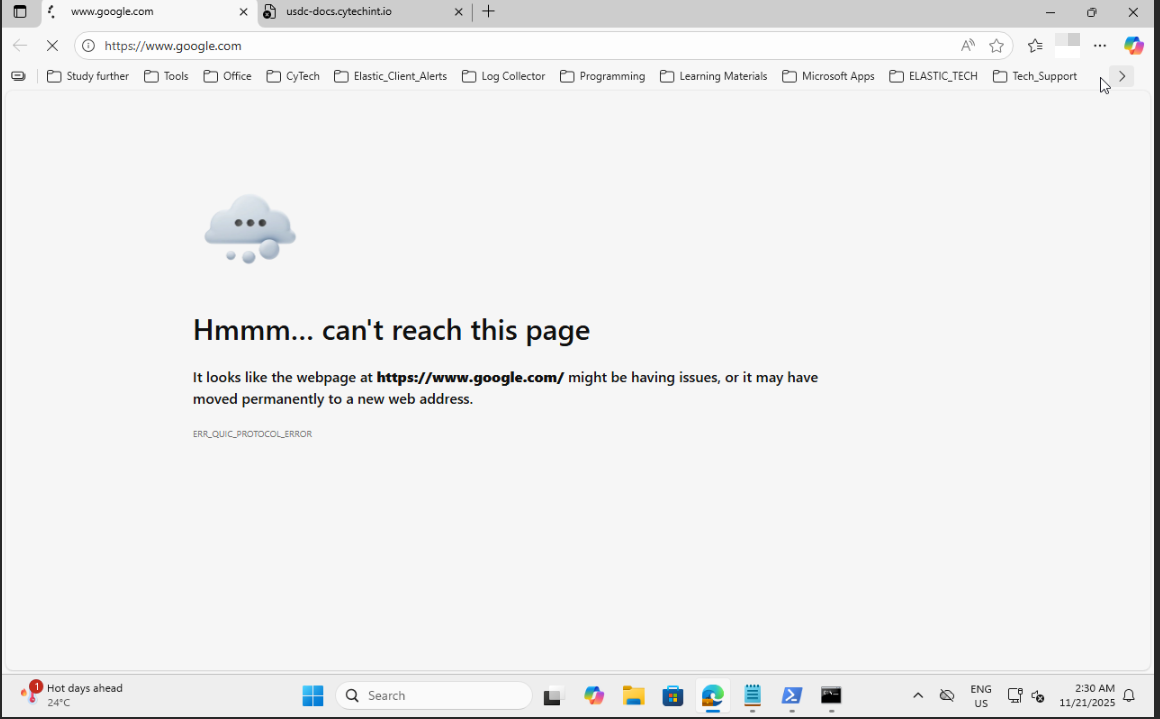
After isolation, you can verify the endpoint's network status:
- Open Command Prompt on the isolated endpoint
- Test connectivity by pinging a public IP address:
- You should see General failure messages, confirming the host is isolated
- The ping statistics should show 100% loss

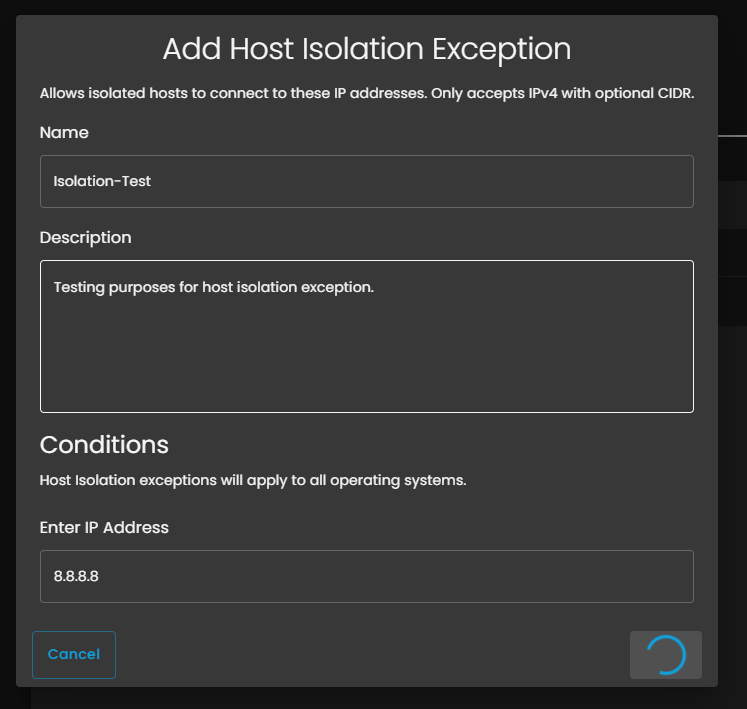
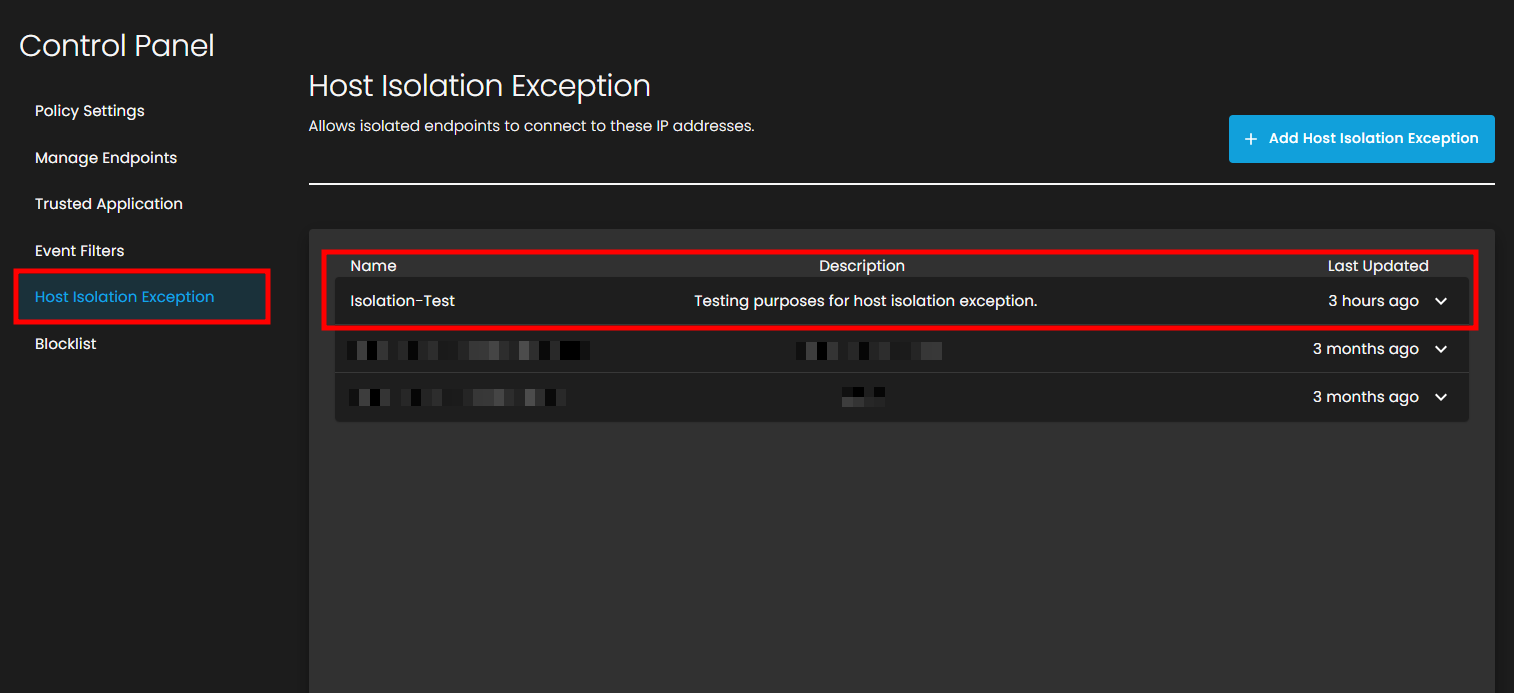
5. Configure Host Isolation Exception
To allow isolated endpoints to connect to specific IP addresses:
In
theControl Panel left sidebar, under Event Filters, click on Host Isolation Exception
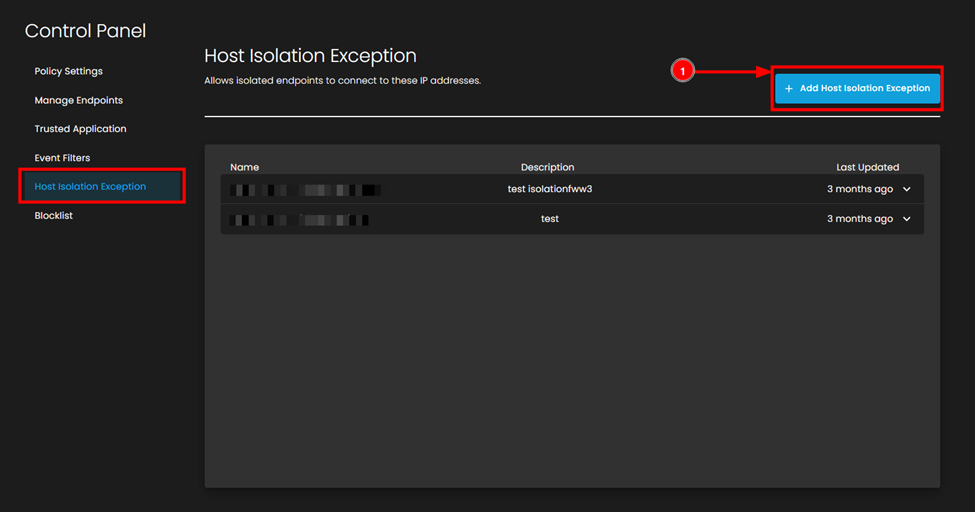
- Click
the
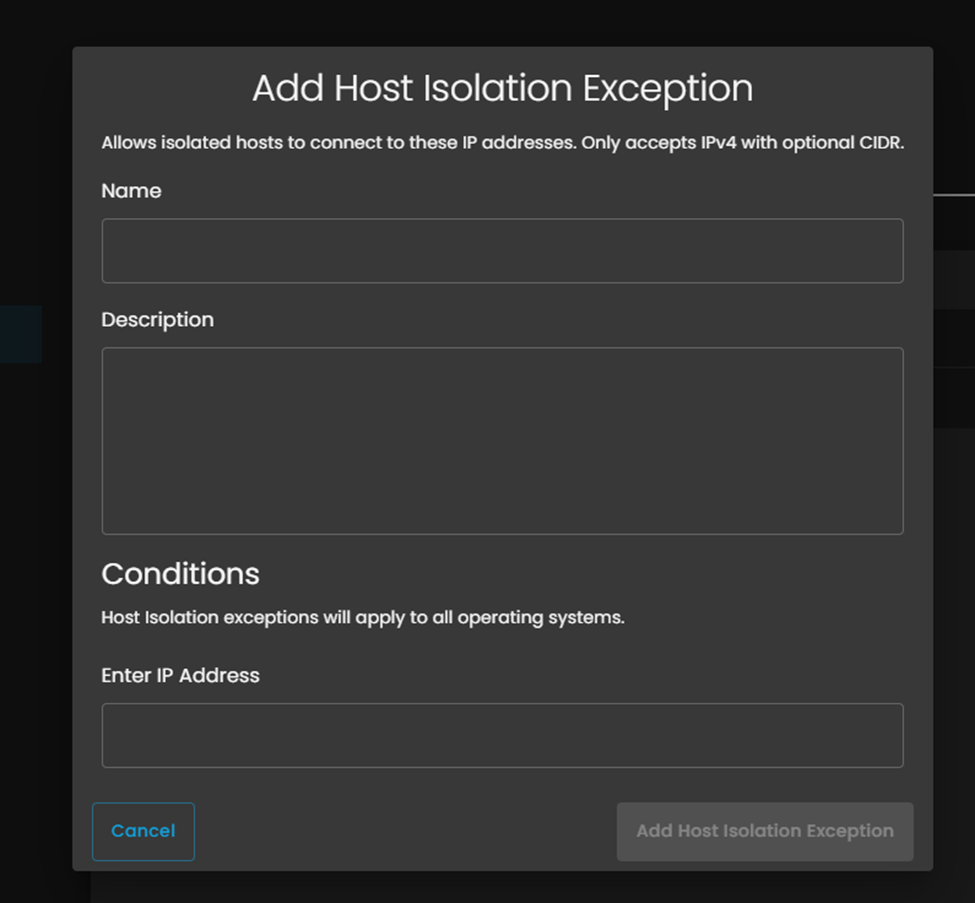
+ Add Host Isolation Exception button (top right, blue button) - In the "Add Host Isolation Exception" dialog box, fill in the following fields:


Enter
IP Address:- Enter the IPv4 address you want to whitelist
- You can only enter one IP address per exception
- Enter the IPv4 address you want to whitelist
- Click the Add Host Isolation Exception button to save
6. Verify the Exception is Active
- Return to the Host Isolation Exception page
- Verify your newly created exception appears in the lis

7. Test the Exception
To confirm the exception is working:
- Return to the isolated endpoint
- Open Command Prompt
- Test connectivity to the whitelisted IP address:

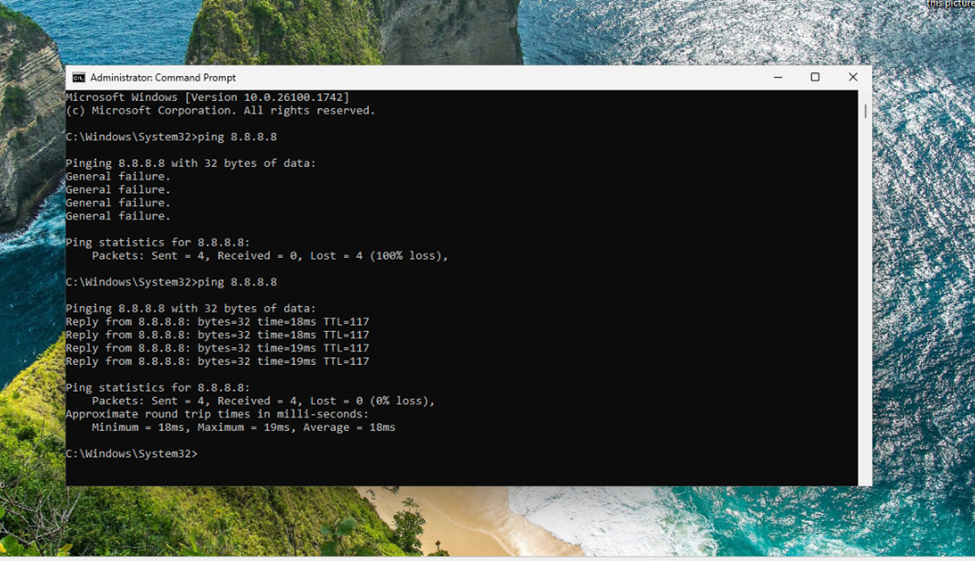

- You should now see successful replies:
- Reply from 8.8.8.8: bytes=32 time=18ms TTL=117
- Ping statistics should show 0% loss with round trip times
This confirms that the isolated endpoint can now communicate with the specified IP address.
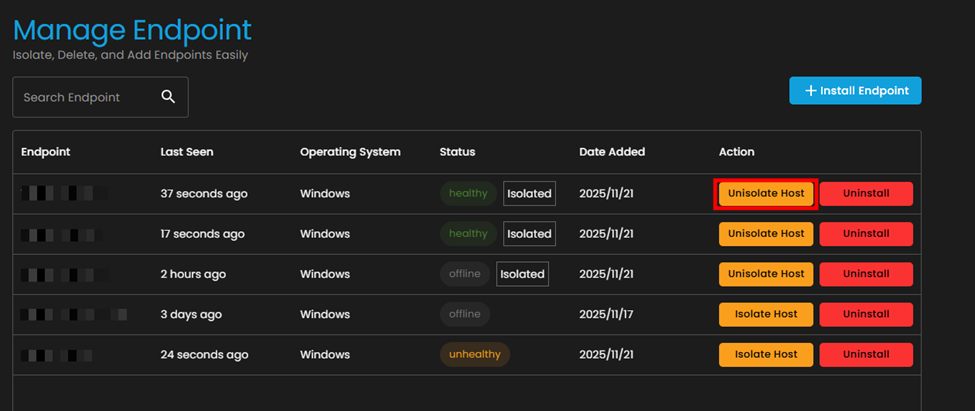
8. Unisolate an Endpoint.
When you need to restore full network connectivity:
- Navigate back to Manage Endpoints
- Locate the isolated endpoint (Status: Isolated)

- Click
the
UnisolateHost
button - In the "Unisolate Endpoint" dialog box:
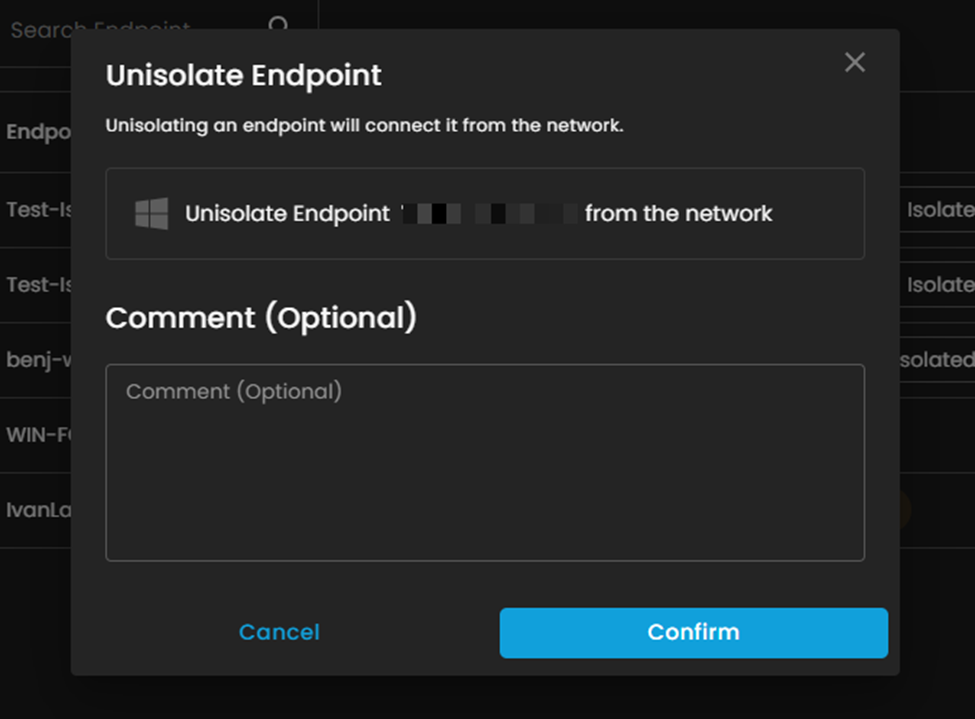
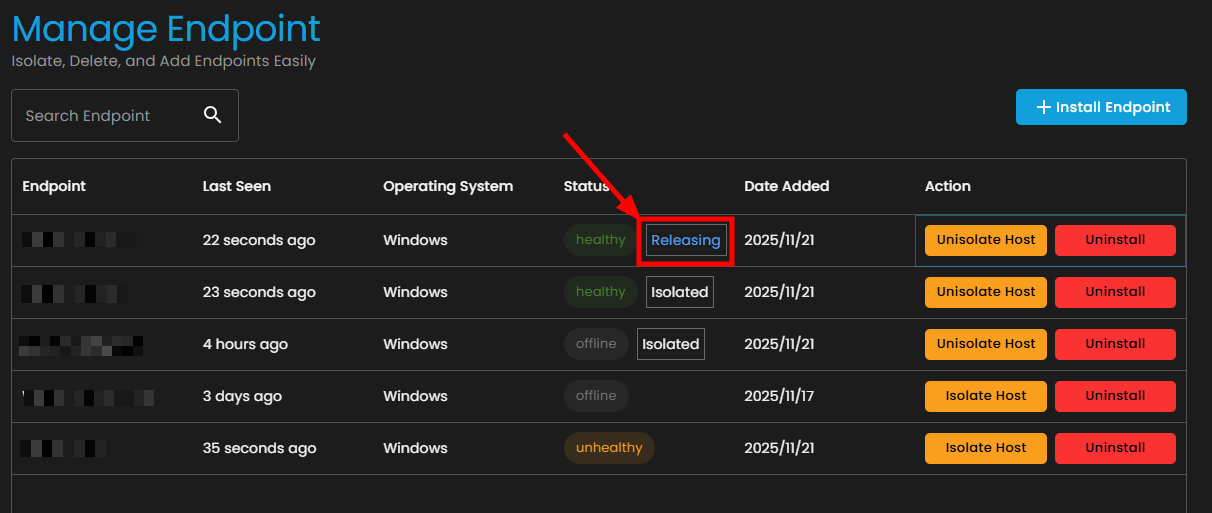
- Click
confirm.
- After
that
it will load while releasing.

- Click
- After refreshing, the endpoint action will go back to Isolate Host after releasing, meaning, the Unisolate is done.