AQUILA - Salesforce Integration via JWT Authentication
Overview
With the OAuth 2.0 JWT bearer token flow, the client posts a JWT to the Salesforce OAuth token endpoint. Salesforce processes the JWT, which includes a digital signature, and issues an access token based on prior approval of the app.
Check "View Event Log Files" Permission
- Check Your Org's Event Monitoring License:
- Go to Setup > Quick Find > Installed Packages or Company Information (under Quick Find > Company Settings).

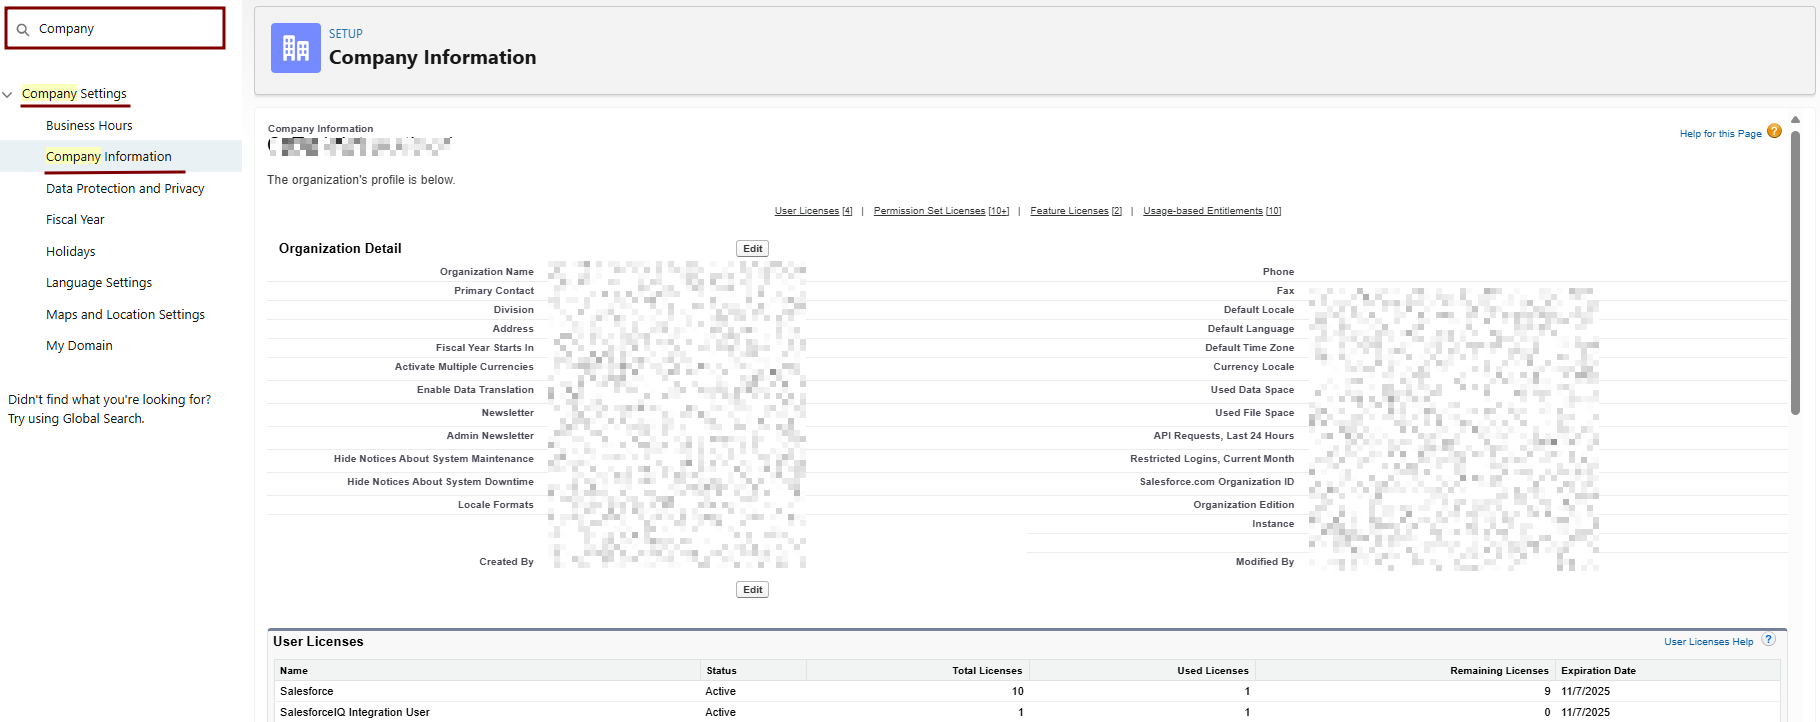
- Look for Event Log File Browser or Event Monitoring and enable it if it shows an option to do so.
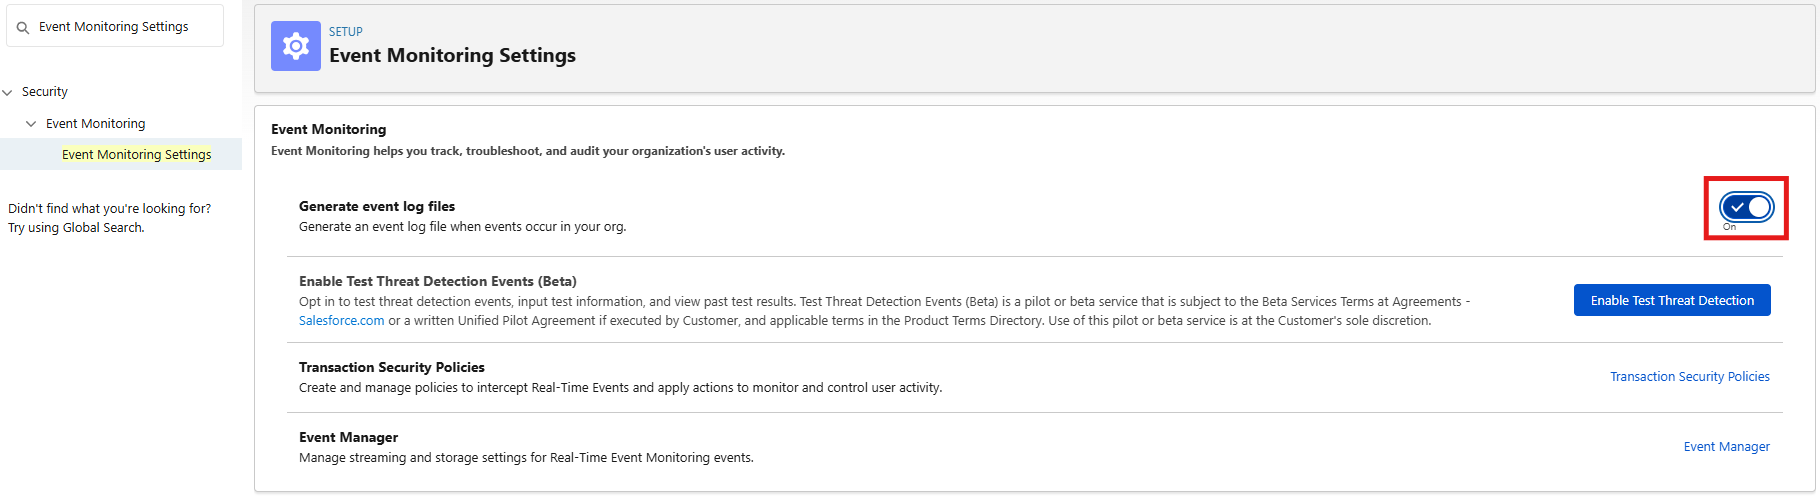
2. Enable Event Monitoring Features:
- Setup > Quick Find > Event Monitoring Settings (or search "Event Log File Browser").
- If the page loads: Check Enable Event Log File Browser > Save.
Clone and Modify the Profile
-
Log in to Salesforce Setup:
-
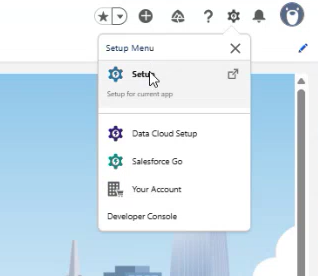
Go to Setup (gear icon > Setup) as an admin.
-
-
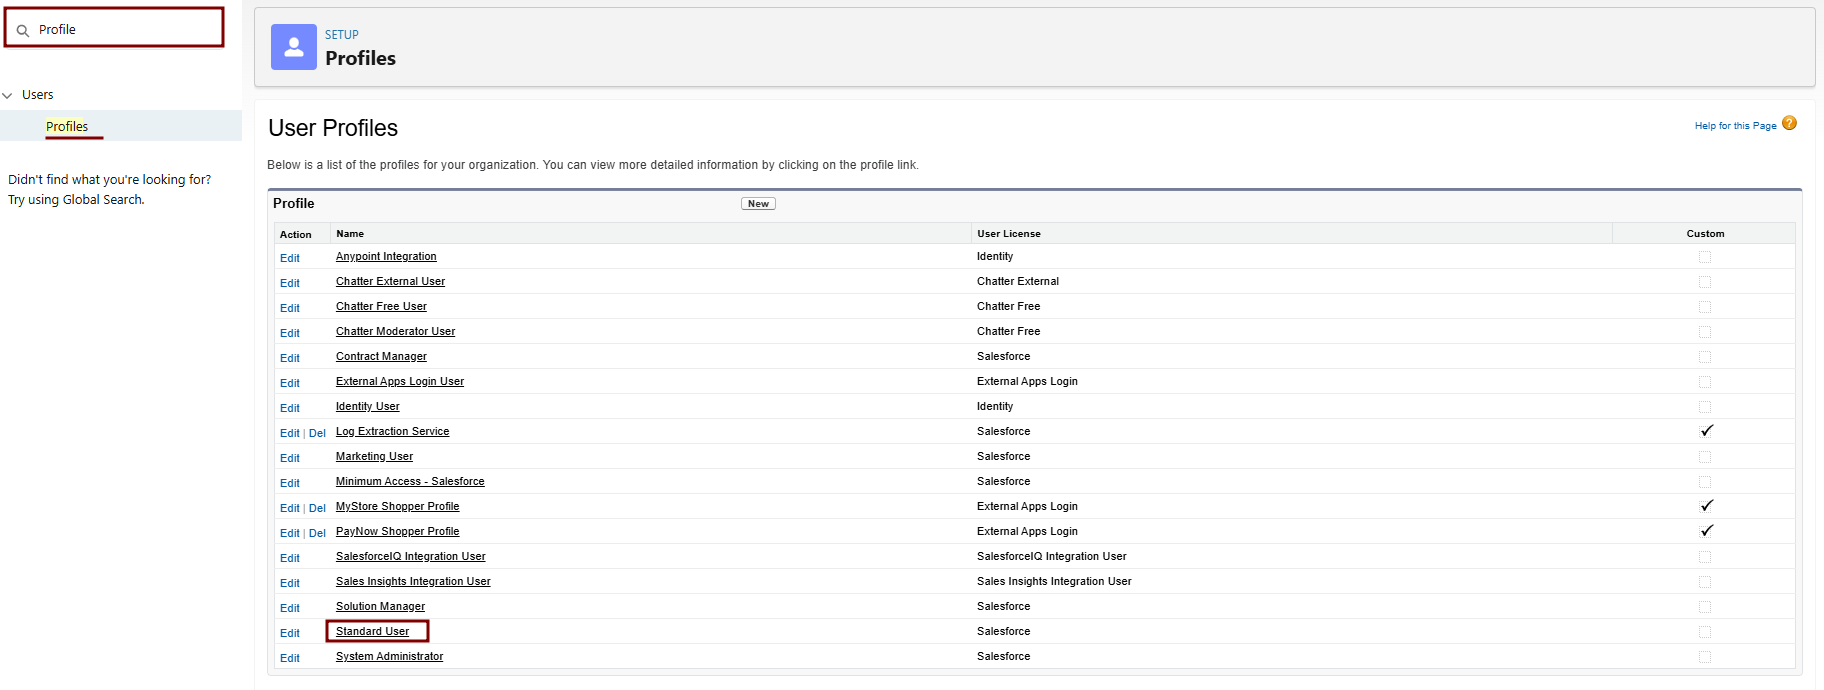
Clone the Standard User Profile:
-
Navigate to Setup > Quick Find > Profiles.
-
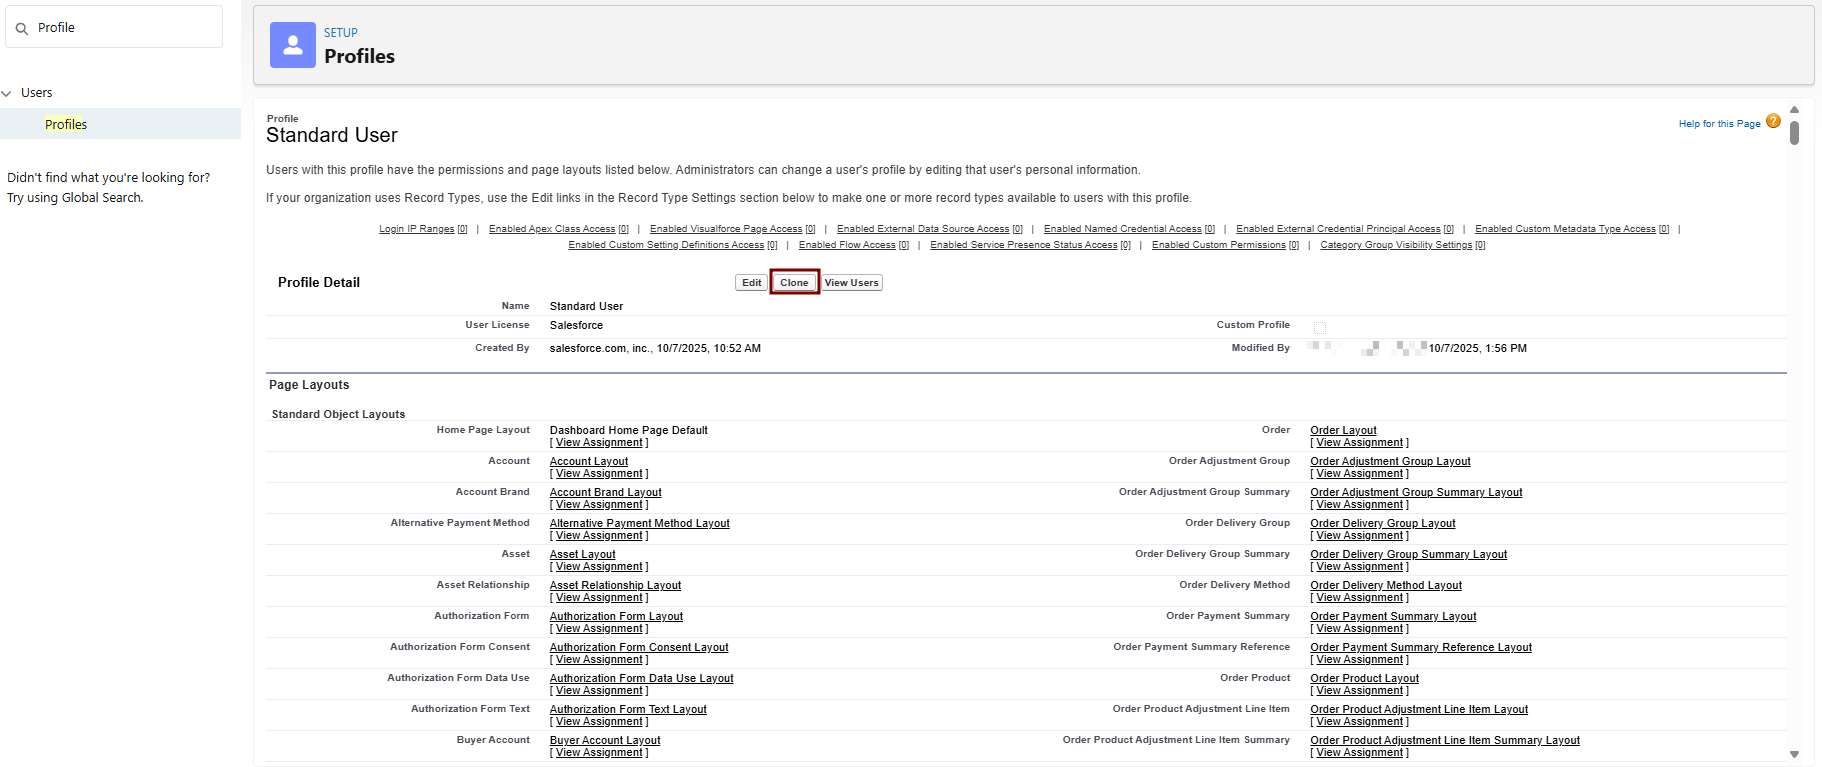
Find Standard User > Click Clone next to it.
-
Profile Information:
- Profile Name: e.g., "Standard User - Log Integration".
- Description: "Cloned for Elastic log integration with API and ELF access."
- User License: Salesforce Integration
-
Save. This creates a new custom profile based on Standard User.
-
3. Edit System Permissions in the Cloned Profile:
-
In Profiles, find your new cloned profile > Click Edit > Go to the System Permissions section (or use Quick Find for "System Permissions").
-
Enable the following checkboxes (these are the key changes from Standard User, which starts with them disabled for security):
|
Permission |
Change from Standard User |
Why Enable It? |
How to Enable |
|
API Enabled |
Disabled → Enabled |
Allows REST/SOAP API calls for fetching logs (e.g., EventLogFile queries). Essential for Elastic integration. |
Check the box under System Permissions. |
|
View Event Log Files |
Disabled → Enabled |
Grants read access to historical Event Log Files (ELF) like logins and Apex events. Core for log ingestion. |
Check the box under System Permissions. |
|
View All Data |
Disabled → Enabled |
Provides broader object read access if ELF queries fail due to restrictions. |
Check the box under System Permissions. |
-
Do NOT enable unrelated permissions like "Modify All Data" or "Delete All Data" to maintain least-privilege.
-
Save the profile.


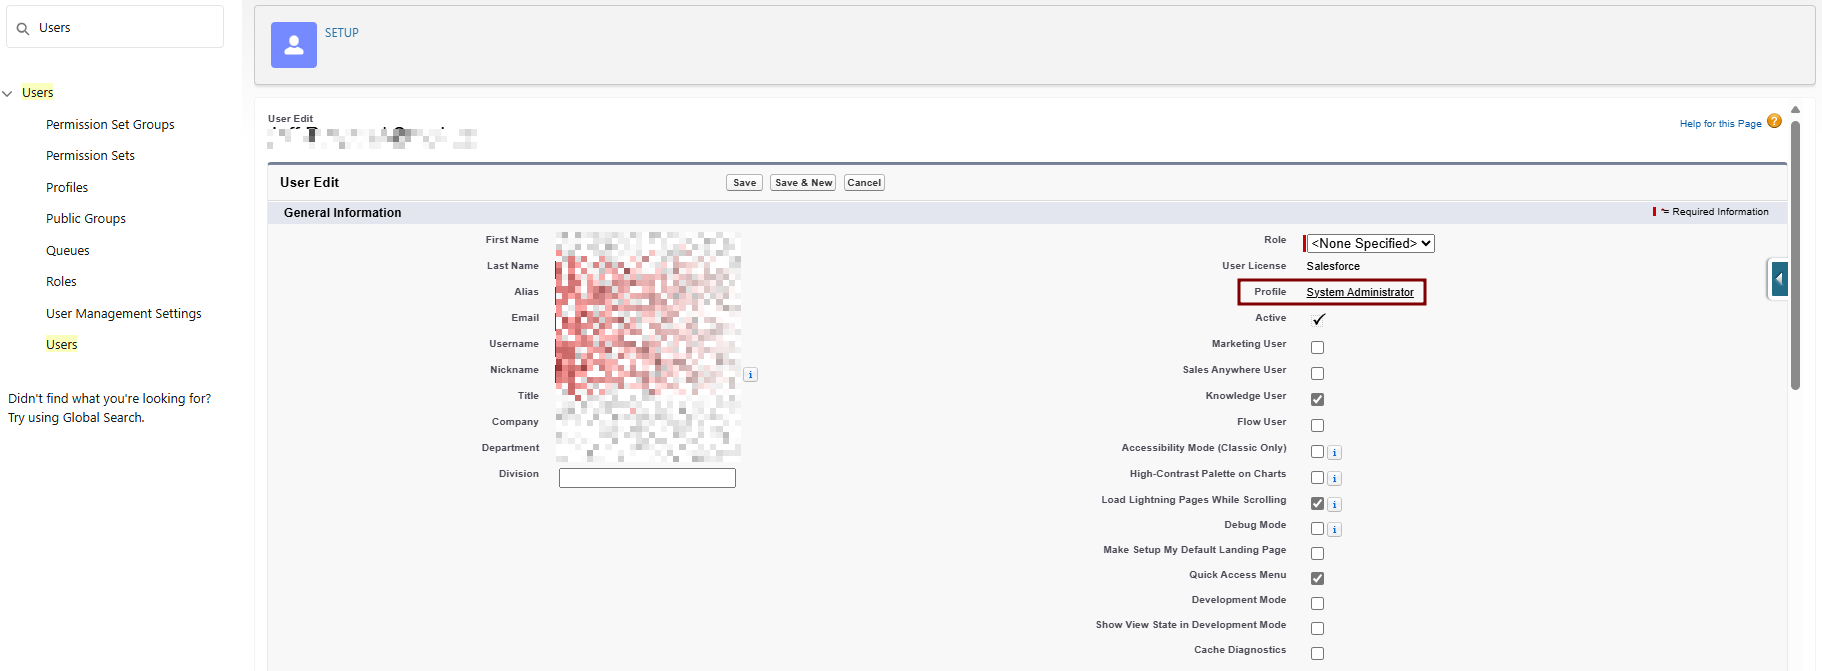
4. Assign the Cloned Profile to Your Integration User:
-
Setup > Quick Find > Users > Select your integration user > Edit.
-
Profile: Select "Standard User - Log Integration".
-
Save.
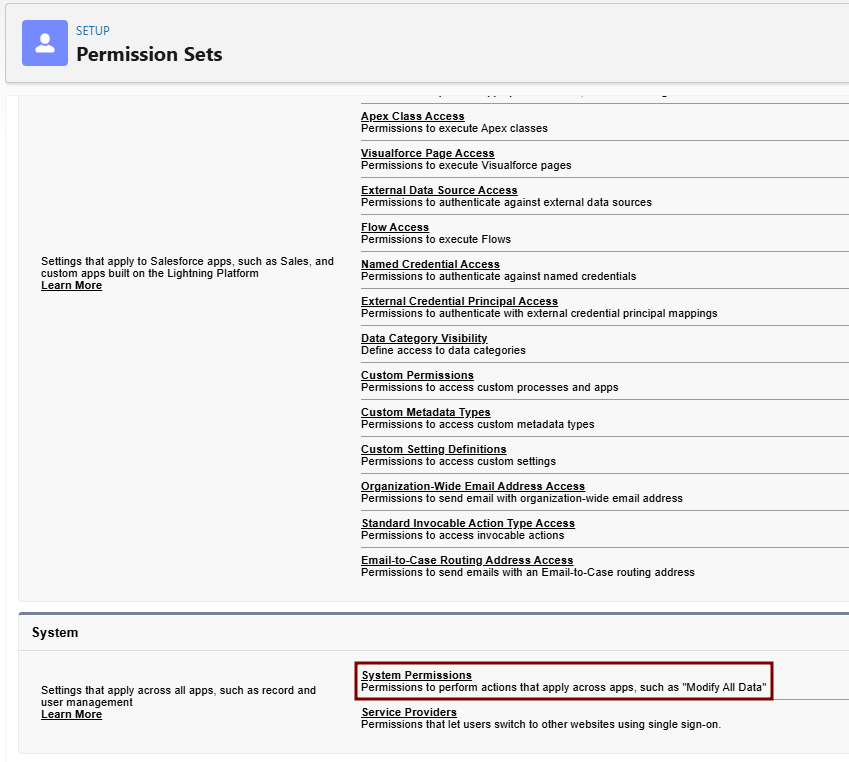
5. Handle Event Monitoring Permissions (Not in Profile—Use Permission Set):
-
The "View Real-Time Event Monitoring Data" isn't a direct profile permission; it's tied to Event Manager.
-
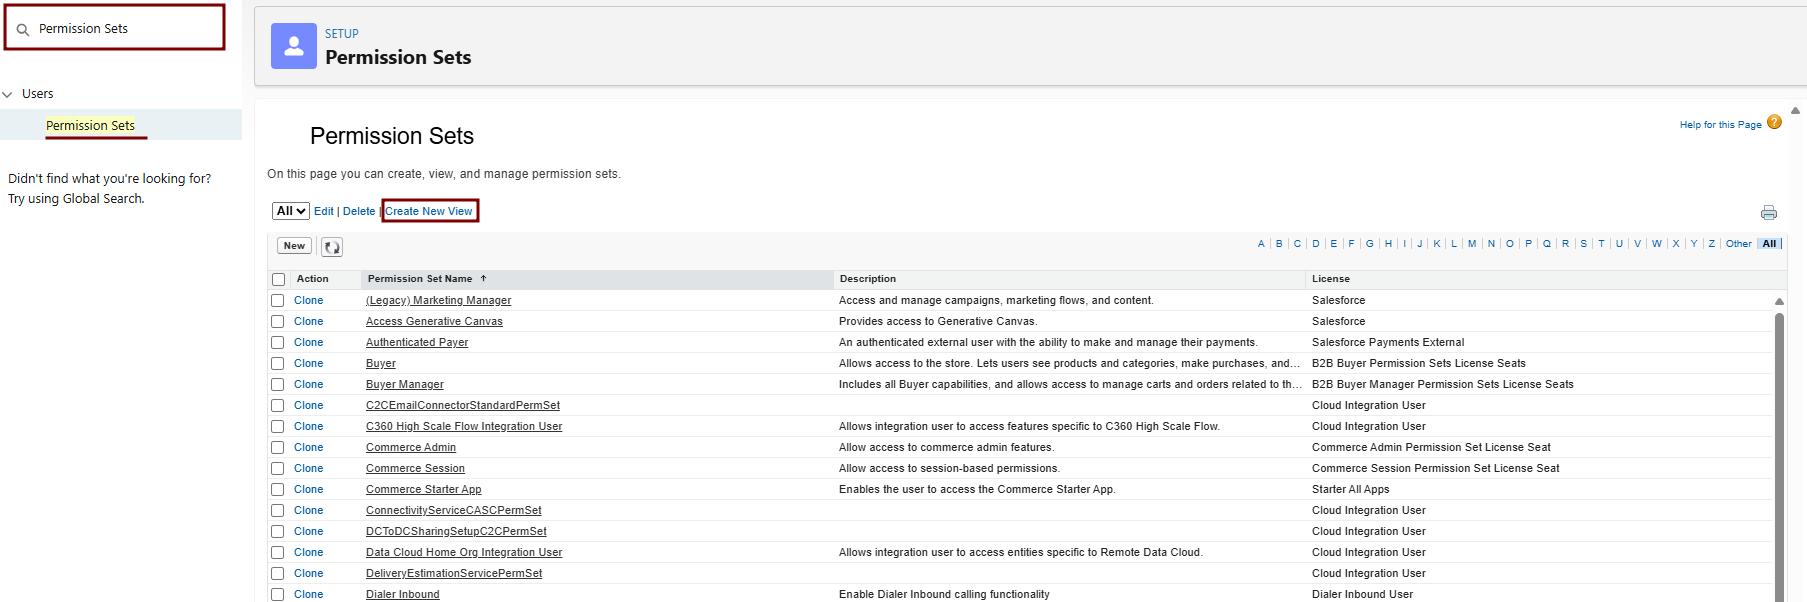
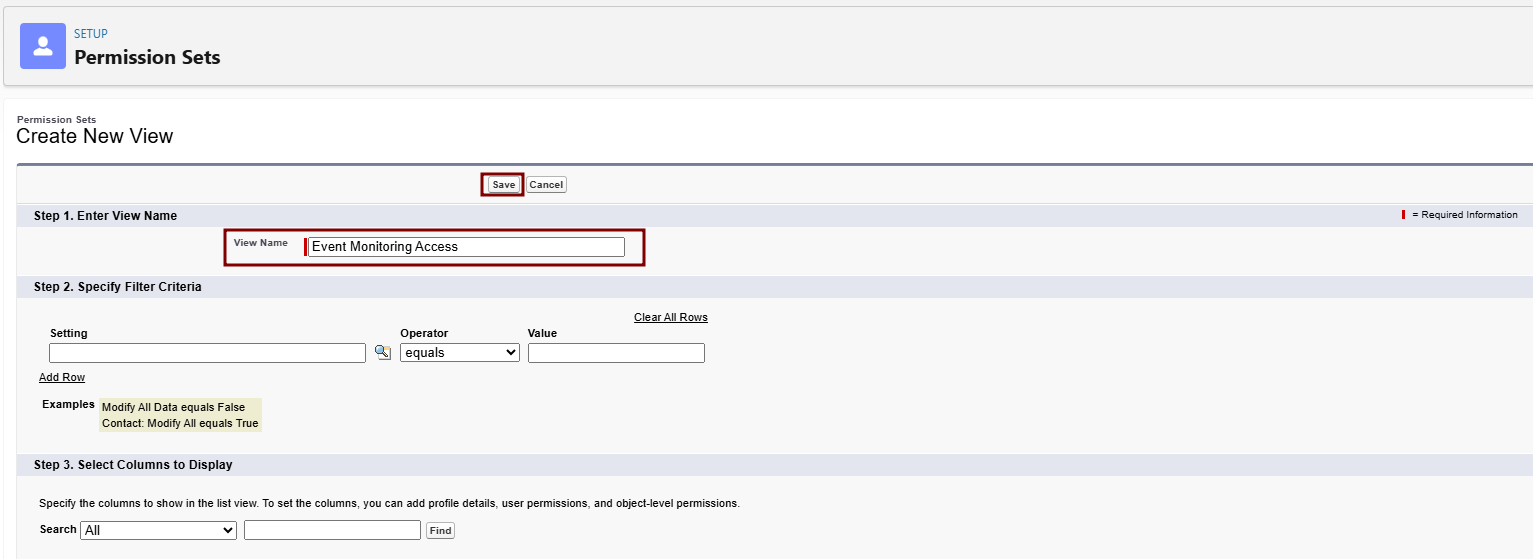
Create a Permission Set:
-
Go to Setup > Quick Find > Permission Sets > New.
-
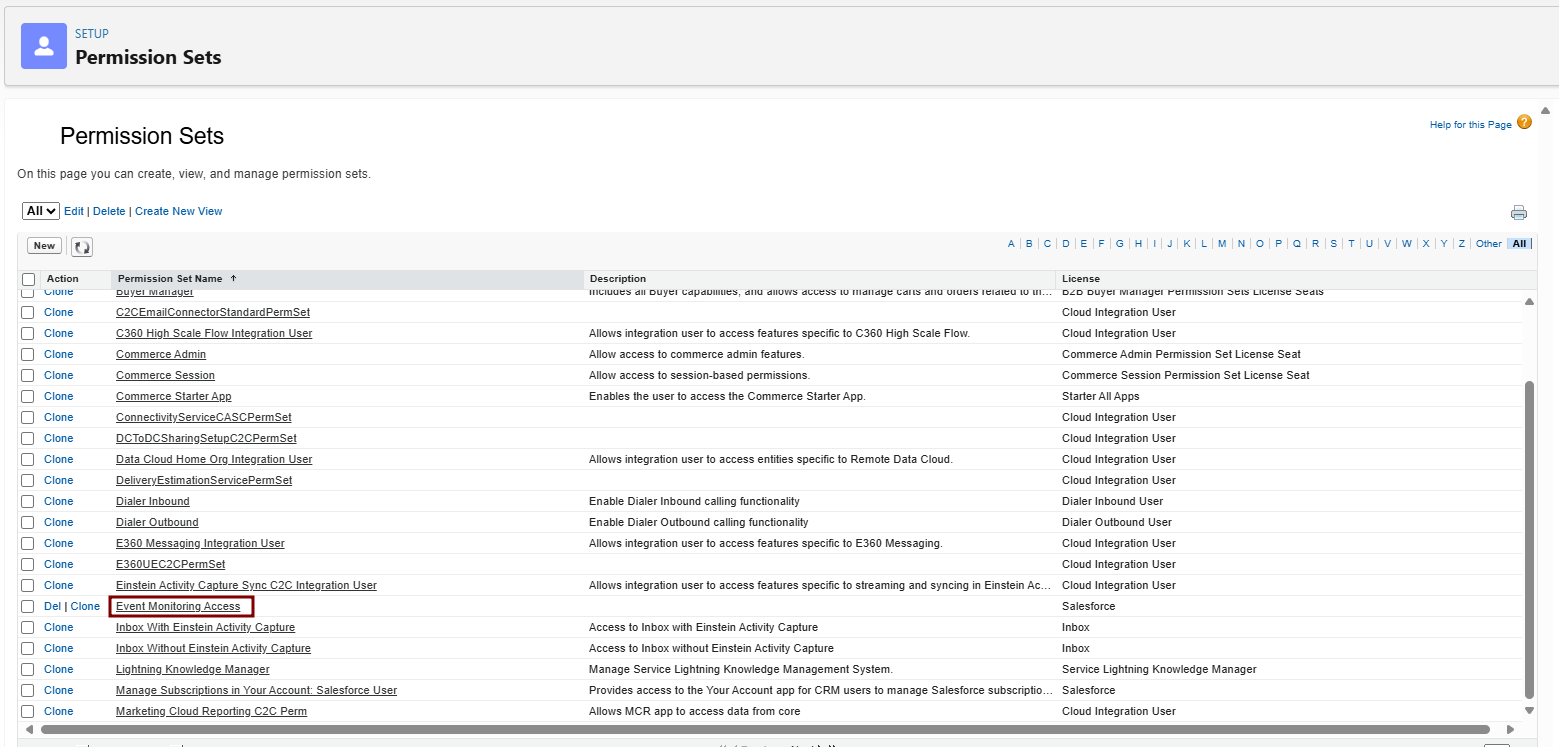
Label/Name: e.g., "Event Monitoring Access".
-
License: "Salesforce Integration" (matches Standard User).
-
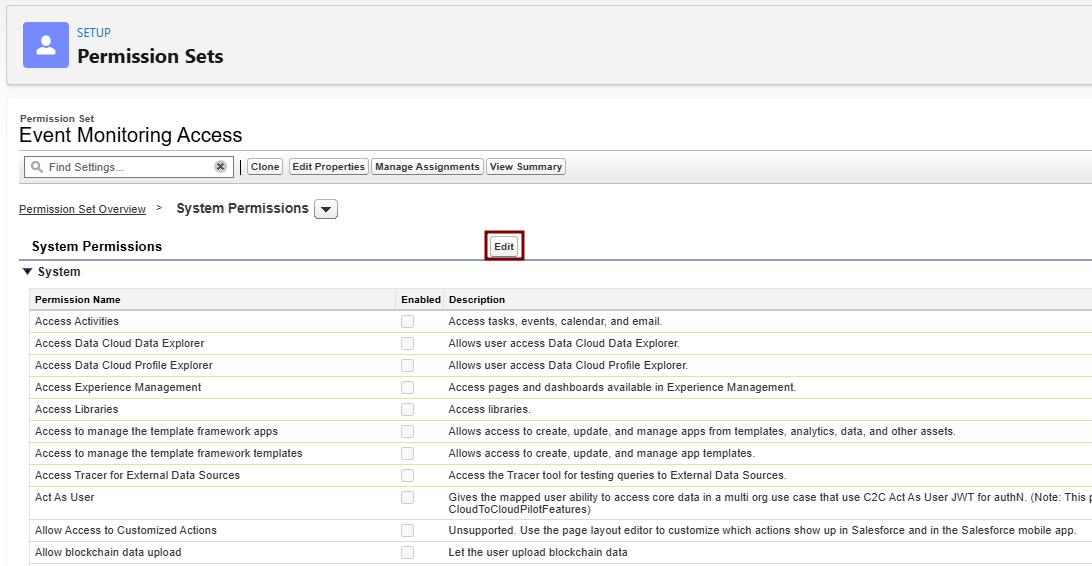
Save > System Permissions tab > Enable View All Data, API Enabled and View Event Log Files.
-
Event Log File Browser tab: Enable access to specific events.
-
-
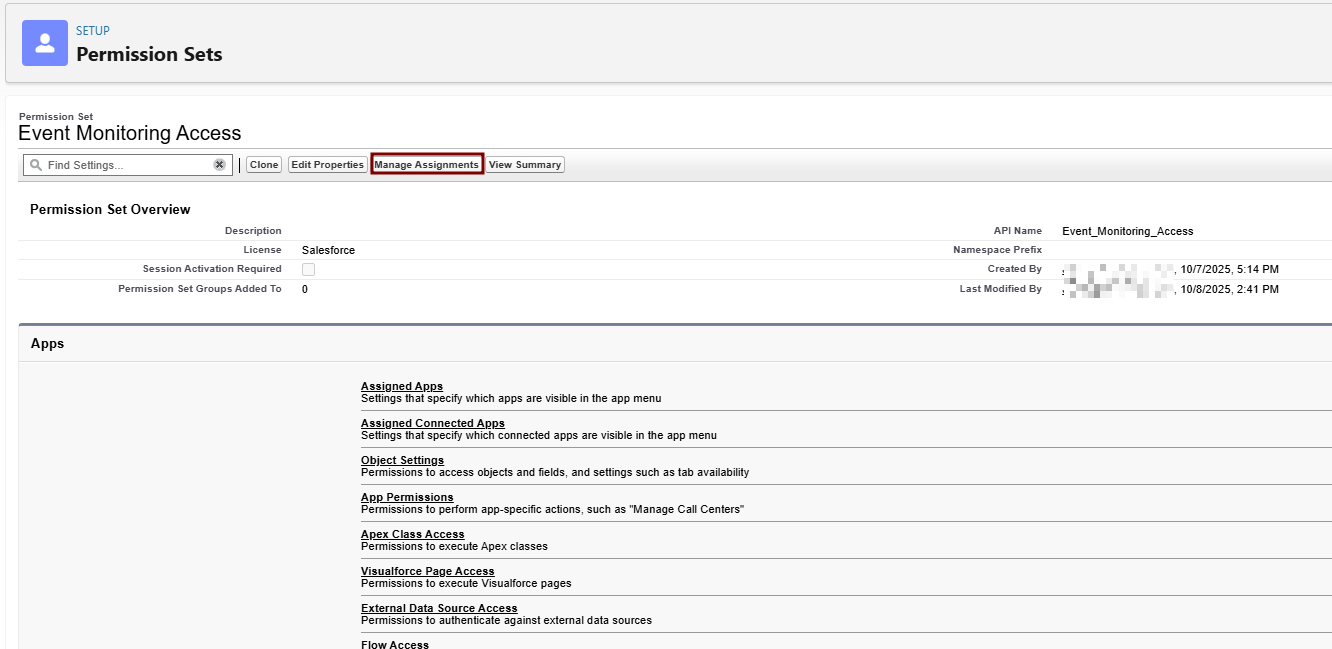
Assign the Permission Set:
-
Permission Set Assignments > New > Select your integration user > Assign.
-
-
Enable Events in Event Manager:
-
Setup > Quick Find > Event Manager.
-
For desired events (e.g., Login Event), click dropdown > Enable Storage. This requires the Event Log File Browser add-on license.
-
This starts log retention (up to 1 year for ELF; real-time requires add-on license).
-


Client Key and Certification Signature Configuration
To use this integration, you need to create a new Salesforce Application using OAuth. Follow these steps to create a connected application in Salesforce:
-
Log in to Salesforce with the user credentials you want to collect data with.
-
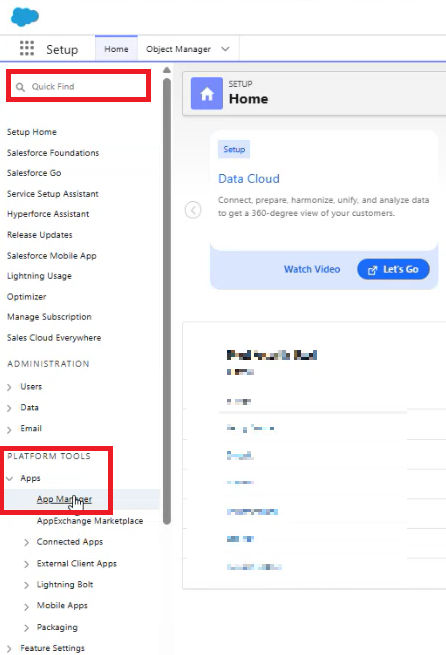
Click Setup in the top right menu bar.
-
In the Quick Find textbox, search for App Manager or you can scroll down to PLATFORM TOOLS and select App Manager.
-
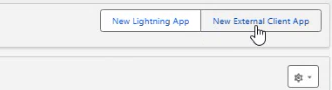
In the upper right corner, choose the New External Client App.
-
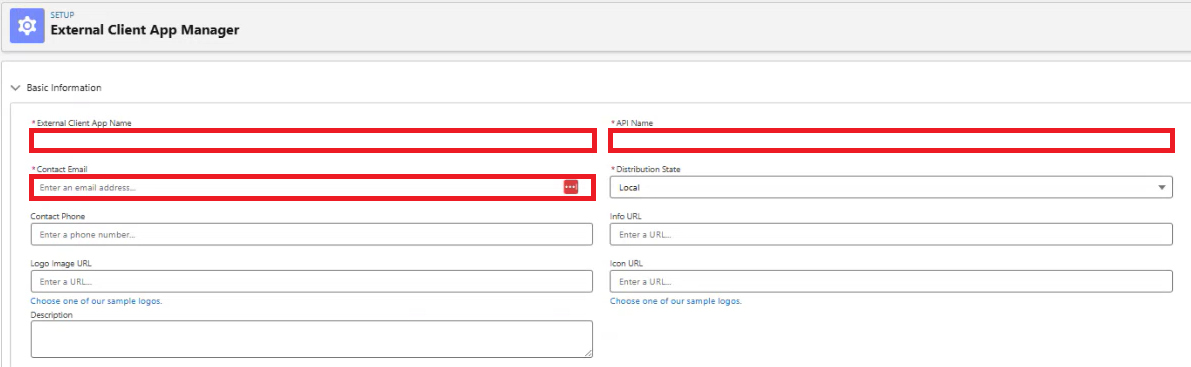
Provide a name for the connected application. This name will be displayed in the App Manager and on its App Launcher tile.
-
Enter the API name. The default is a version of the name without spaces. Only letters, numbers, and underscores are allowed. If the original app name contains any other characters, edit the default name.
-
Enter the email address of the new account you created earlier.
-
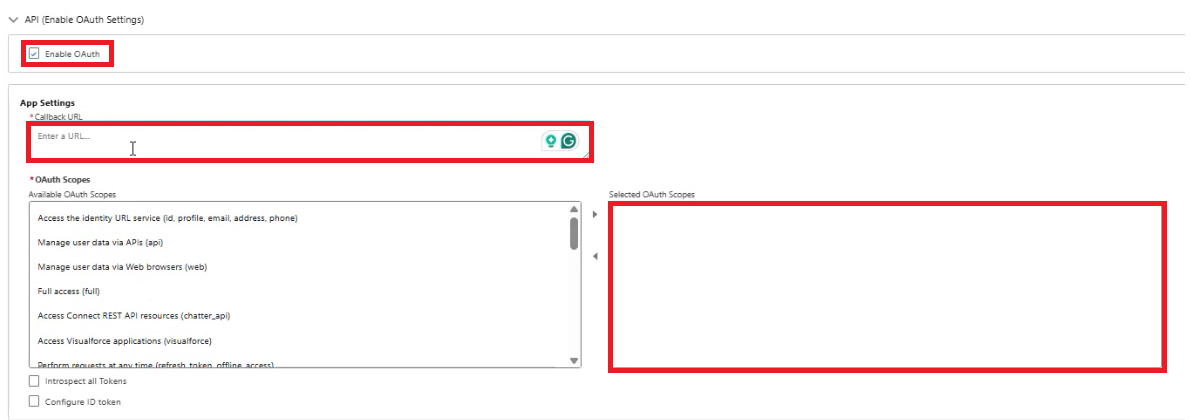
Under the API (Enable OAuth Settings) section, check the box for Enable OAuth Settings.
-
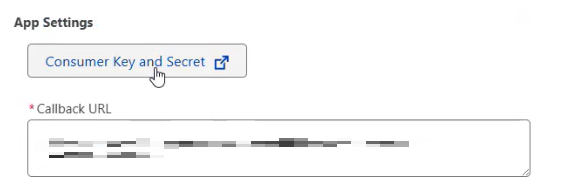
In the Callback URL field, enter the instance URL as specified in Salesforce instance URL. Example URL: https://na9.salesforce.com
-
Select the following OAuth scopes to apply to the connected app:
-
Manage user data via APIs (api)
-
Perform requests at any time (refresh_token, offline_access)
-
(Optional) If you encounter any permission issues during data collection, add the Full access (full) scope.
-
-
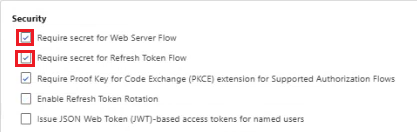
Select Require Secret for the Web Server Flow to require the app's client secret in exchange for an access token.
-
Select Require Secret for Refresh Token Flow to require the app's client secret in the authorization request of a refresh token and hybrid refresh token flow.
-
Then scroll up above the Callback URL on the App Settings you will see the Consumer Key and Secret button, click it.
-
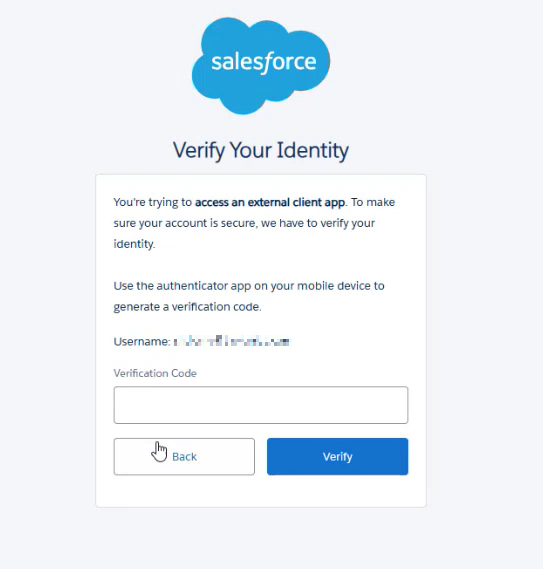
It will create another tab. Verify the user account by entering the Verification Code.
-
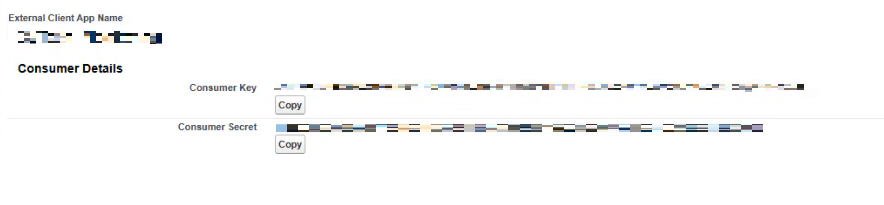
Copy the
Consumer KeyandConsumer Secretfrom the Consumer Details section. These values should be used as the Client ID and Client Secret, respectively, in the integration.
-
Close that tab and go back to the External Client App Manager. Click Save.
Required fields for JWT Authentication Integration:
-
JWT Authentication Audience URL
-
JWT Authentication Client Key Path
-
Username
-
Client ID
-
Instance URL
-
Token URL
Provide this required fields to CyTech Support.
Reference Link:
OAuth 2.0 JWT Bearer Flow for Server-to-Server Integration in Salesforce
If you need further assistance, kindly contact our support at support@cytechint.com for prompt assistance and guidance.