AQUILA EDR Mass Deployment Via Microsoft Intune
Deploying Endpoint Detection & Response (EDR) via Microsoft Intune
Overview
This guide explains how to install an Endpoint Detection & Response (EDR) solution on all devices managed through Microsoft Intune. The process ensures consistent protection across your organization’s endpoints by using Intune’s Endpoint security policies and app deployment features.
Prerequisites
Before beginning, confirm the following:
-
You have Global Administrator or Intune Administrator rights in Microsoft 365.
-
Devices are already enrolled and compliant in Microsoft Intune.
-
You have the installer package ( IntuneWin format) for your chosen EDR solution.
Step 1: Prepare the EDR Installer
-
Obtain the official EDR installation package (MSI) from AQUILA
-
If the installer is not in .intunewin format, convert it using the Microsoft Win32 Content Prep Tool.
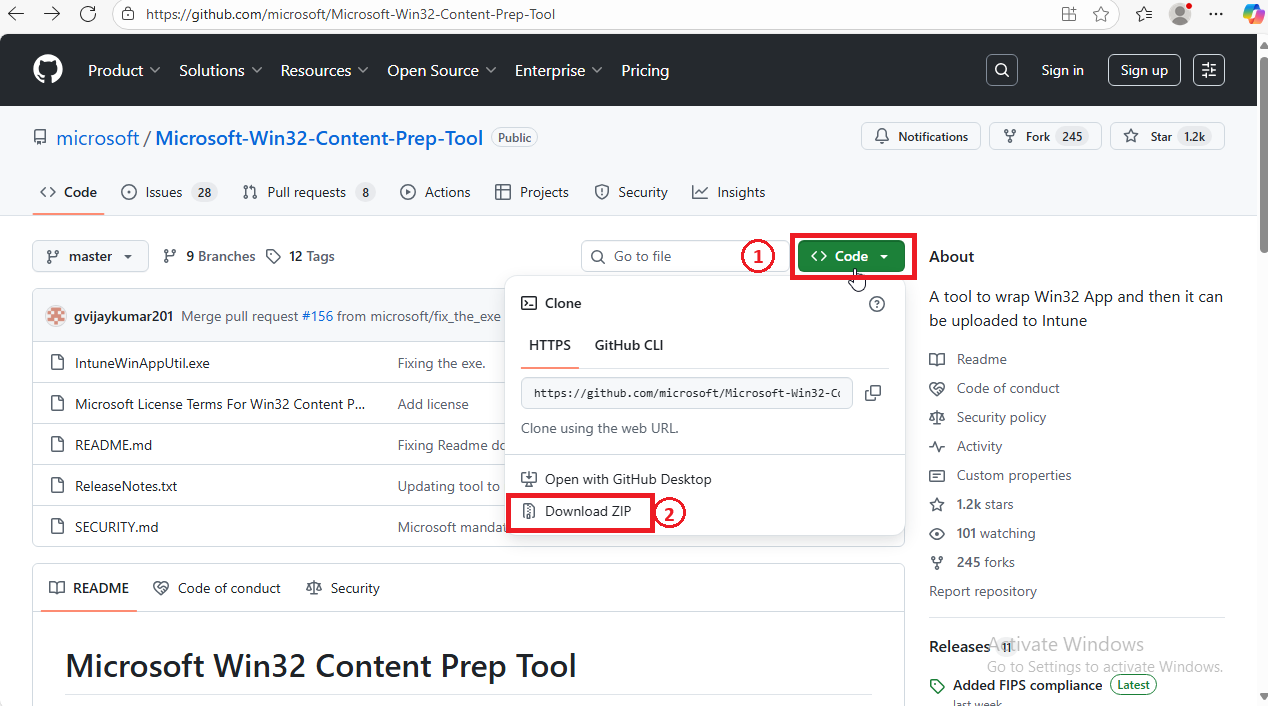
Download tool: GitHub - microsoft/Microsoft-Win32-Content-Prep-Tool: A tool to wrap Win32 App and then it can be uploaded to Intune
Steps for preparing an Installer for Intune (.intunewin format)
Download the Packaging Tool
-
-
-
Go to Microsoft’s official download page: Win32 Content Prep Tool (GitHub)
-
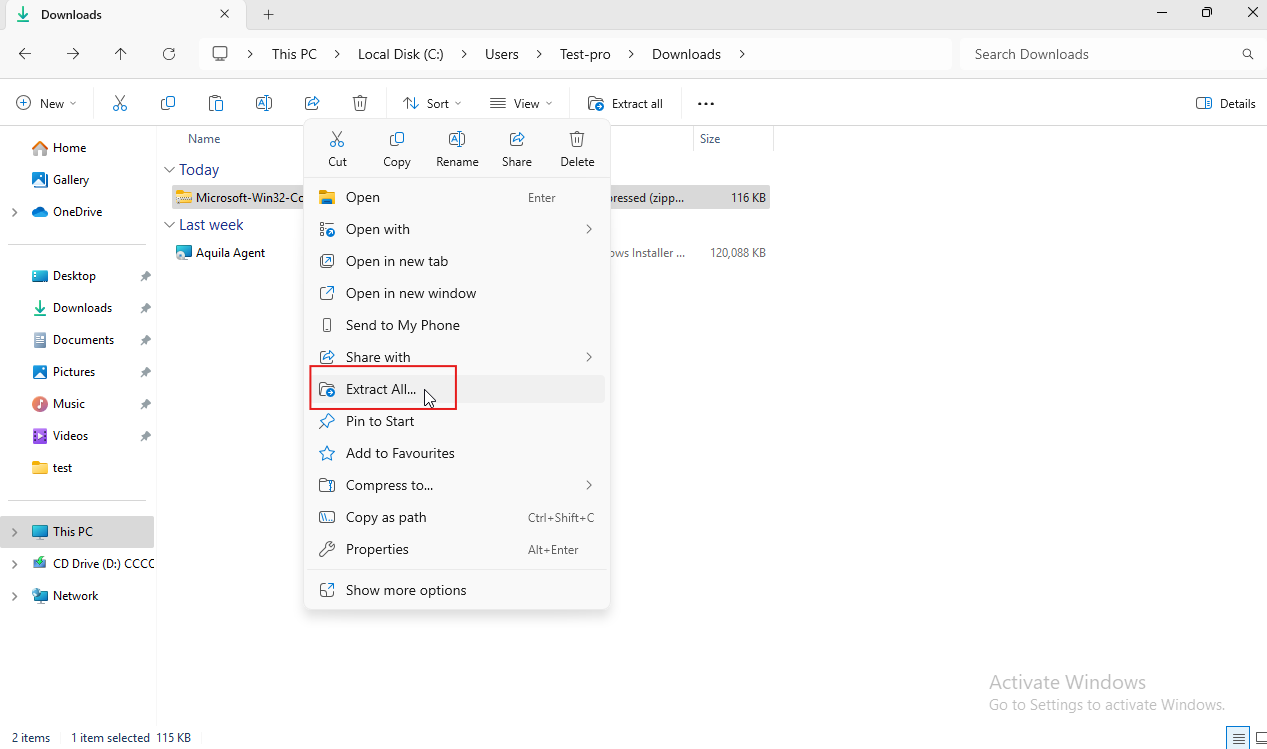
Download the ZIP file to your computer.

-
Right-click the ZIP → Extract All…
-
Choose a location (for example:
C:\IntuneWinAppUtil).
-
-


Prepare Your Installer Files
-
-
-
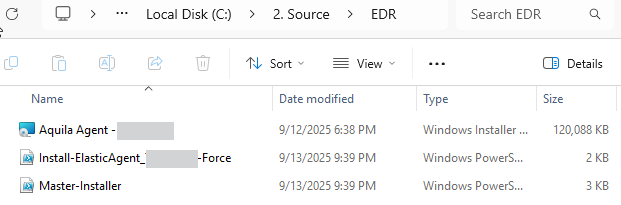
Create a folder for your installer, for example:
-
C:\2. Source\EDR
-
-
Place your EDR installer inside that folder. Place also here the script files.
- Aquila Agent(Namespace).msi
- Master-Installer.ps1
- Install-ElasticAgent_(Namespace)-Force.ps1
-
Create another empty folder where the packaged file will be saved, for example:
-
C:\3. Output
-
-
-

Run the Packaging Tool
-
-
-
Go to the folder where you extracted the tool and run it

-
The tool will ask you a few questions. Enter the following:
-
Source folder: type the path to your installer folder (e.g.,
C:\Source\EDR). -
Setup file: type the name of the Master-Installer (e.g., Master-Installer.msi).
-
Output folder: type the path to your empty folder (e.g.,
C:\Output). -
Catalog folder: just press Enter to skip.

-
-
-


Check the Result
-
-
-
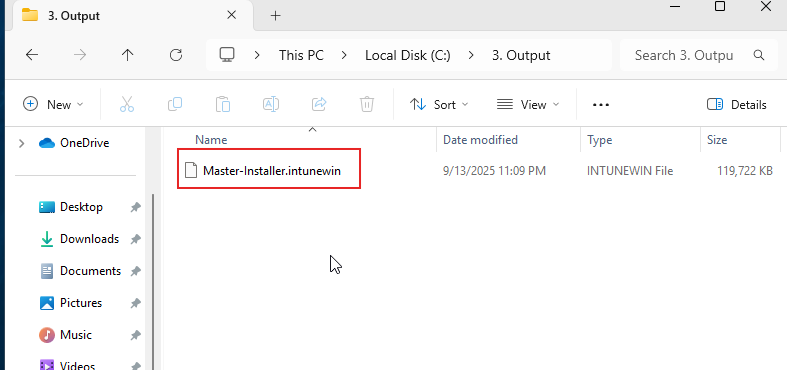
Open your output folder (
C:\Output). -
You should now see a file ending in
.intunewin, for example: - This is the file you’ll upload into Microsoft Intune.
-
-

-
Step 2: Add the EDR App to Intune
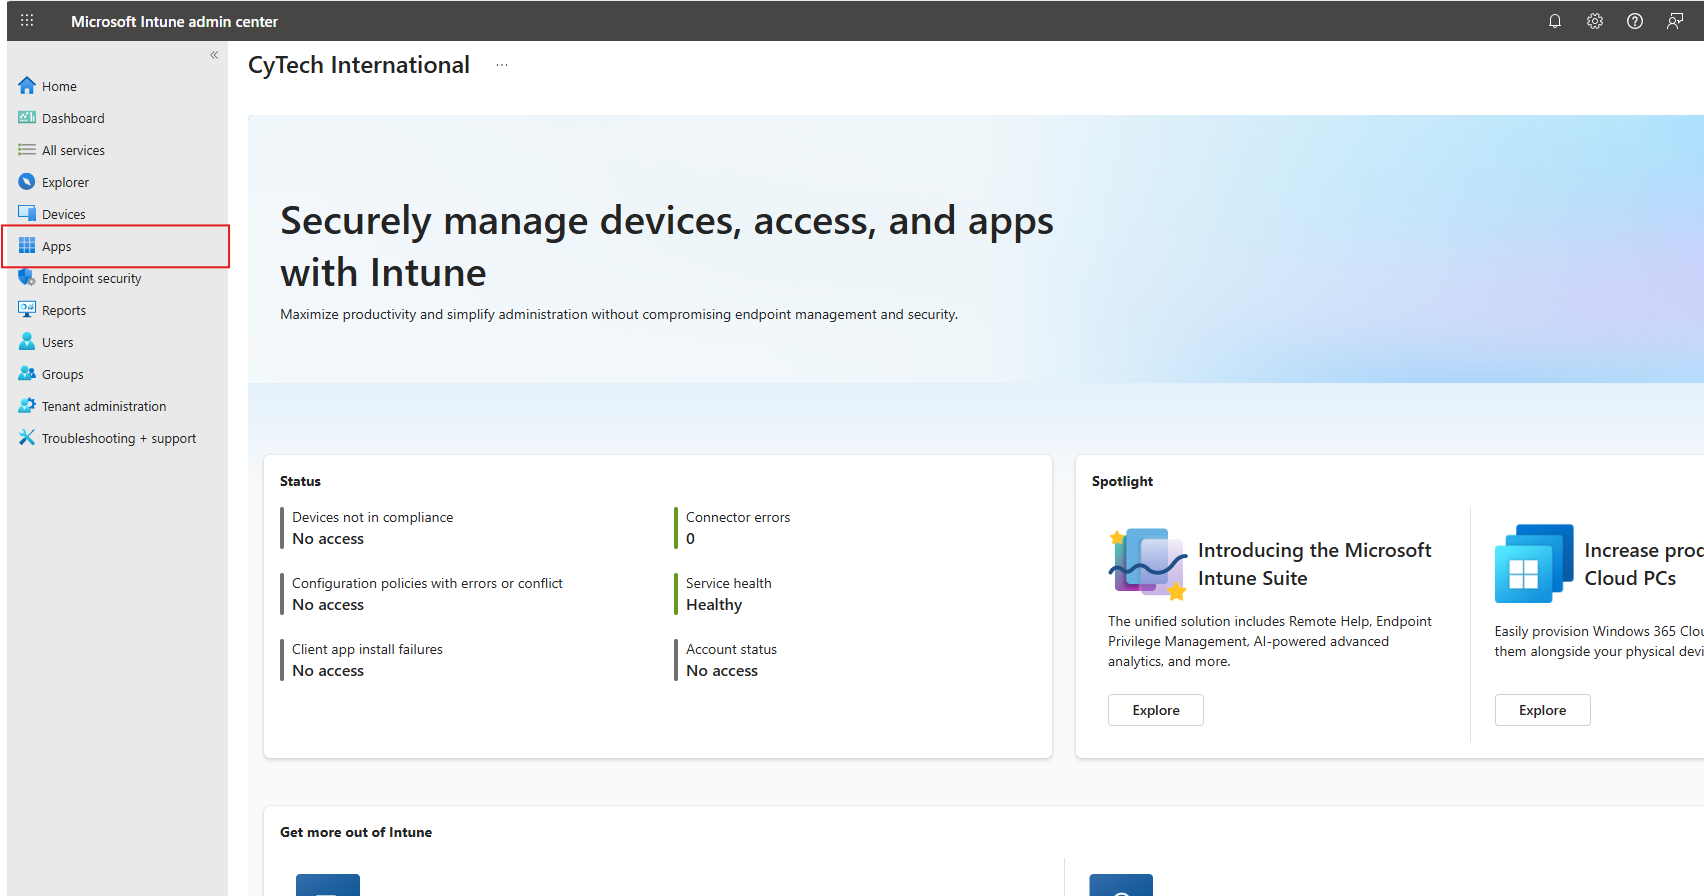
Sign in to the Microsoft Intune admin center → https://intune.microsoft.com
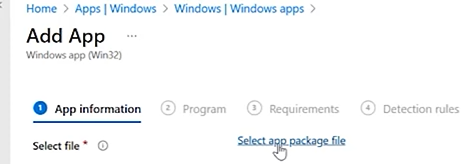
- Go to Apps.
- Windows App
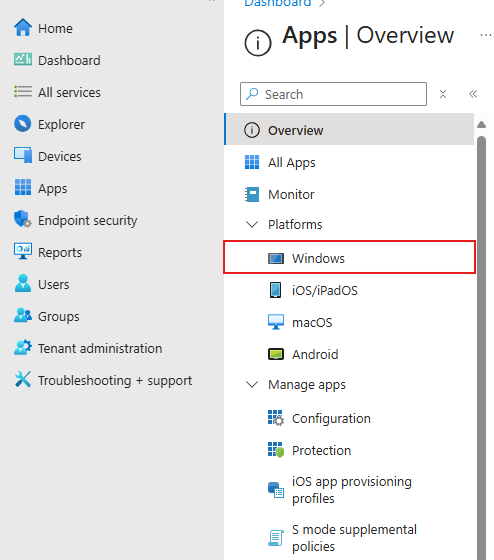
- Add

-
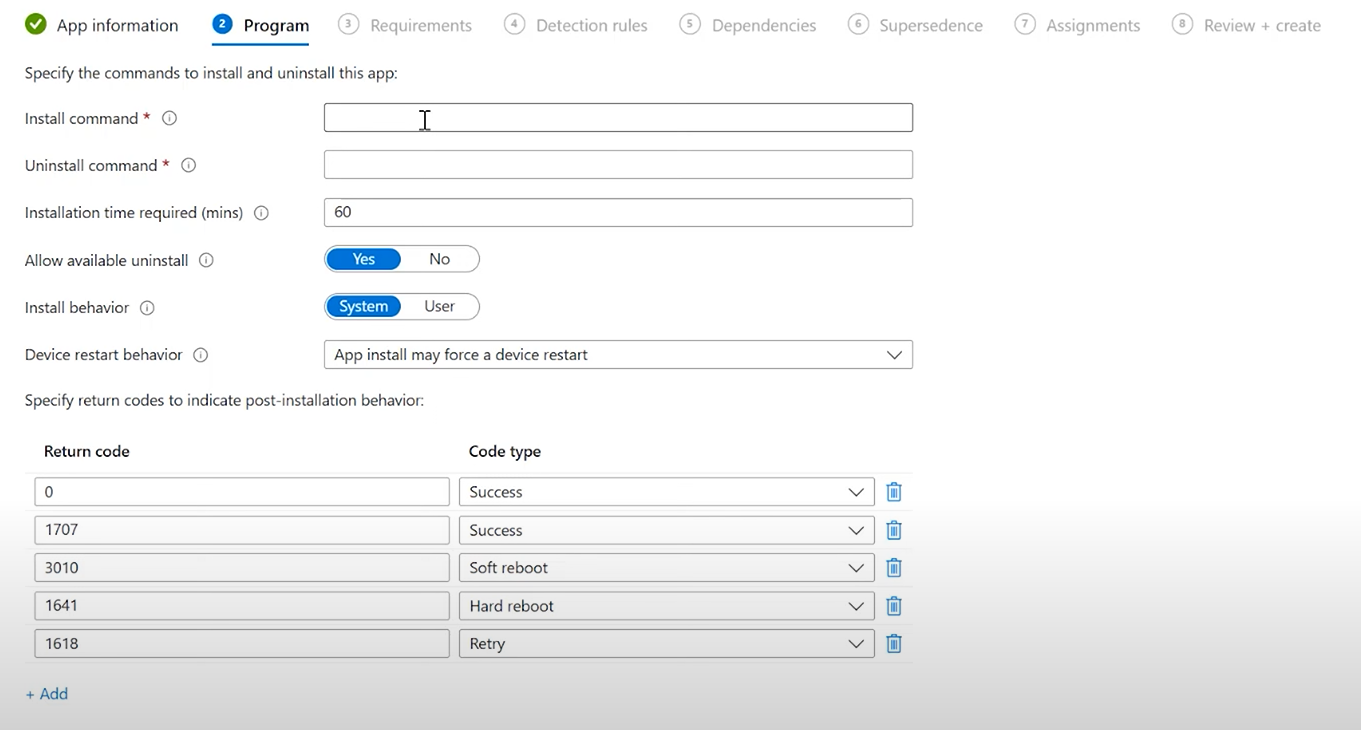
Set Program Install/Uninstall Commands.
-
Install Command:
-
powershell.exe -ExecutionPolicy Bypass -File .\Master-Installer.ps1}
-
- Uninstall command:
- To get the GUID, First Open to Registry Editor:

- Then Copy the Path Computer\HKEY_LOCAL_MACHINE\SOFTWARE\WOW6432Node\Microsoft\Windows\CurrentVersion\Uninstall and Paste it into the Search Box.

- Then that is the GUID that will then be used to input in this uninstall command
msiexec /x {Aquila Agent Product Code/GUID} /quiet /norestart- For Example:
msiexec /x {E92F733D-073E-4179-9626-AA4(BAA9807C} /quiet /norestart
- For Example:
-
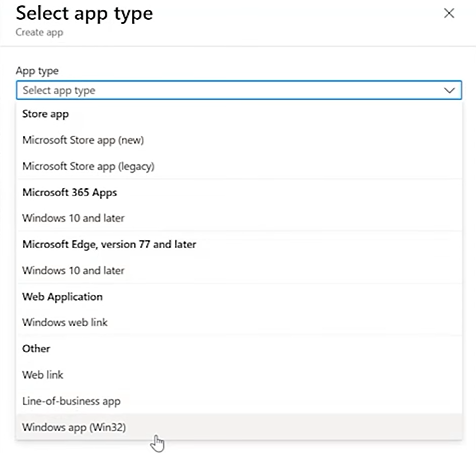
Select the app type:
-
Windows app (Win32) for most EDR installers.
-
-
Upload the prepared installer package.
-
Find and upload the .intune file on the Output folder from earlier.

-
-
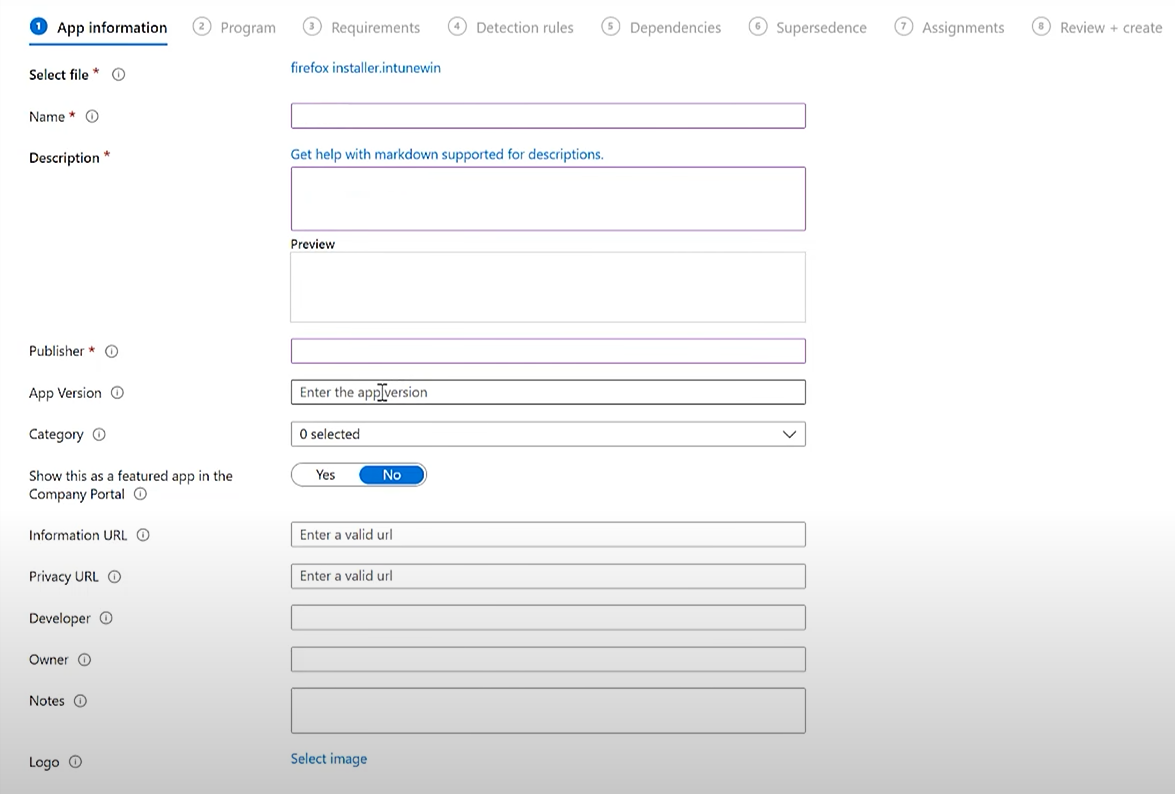
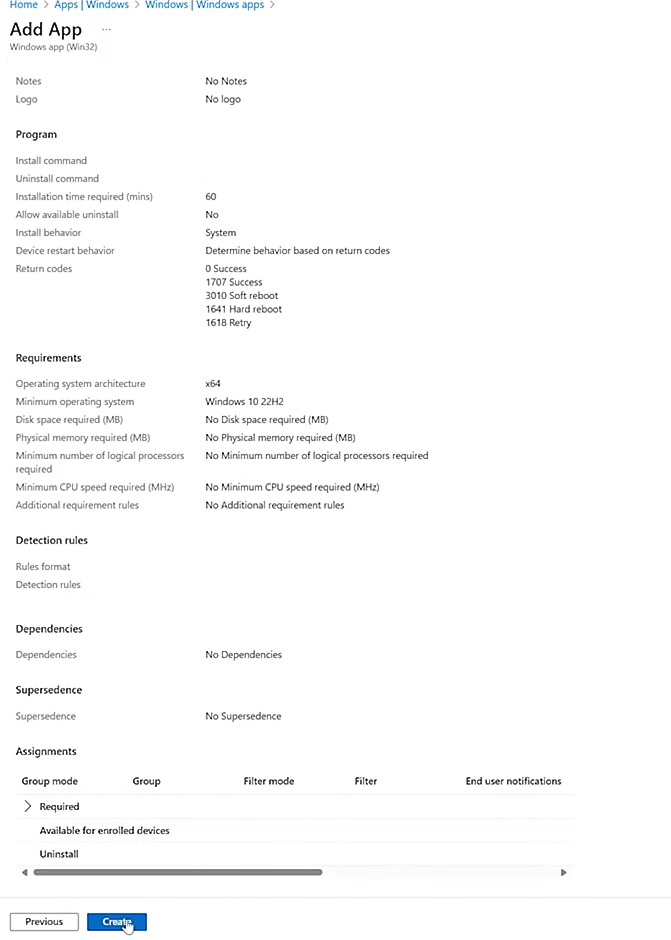
Configure App Information: name, description, publisher.

SetProgram Install/Uninstall Commands.Install Command:powershell.exe -ExecutionPolicy Bypass -File .\Master-Installer.ps1}
Uninstall command:msiexec /x {86638C83-CE96-4CA3-BD12-DC2F72798232} /quiet /norestart
-
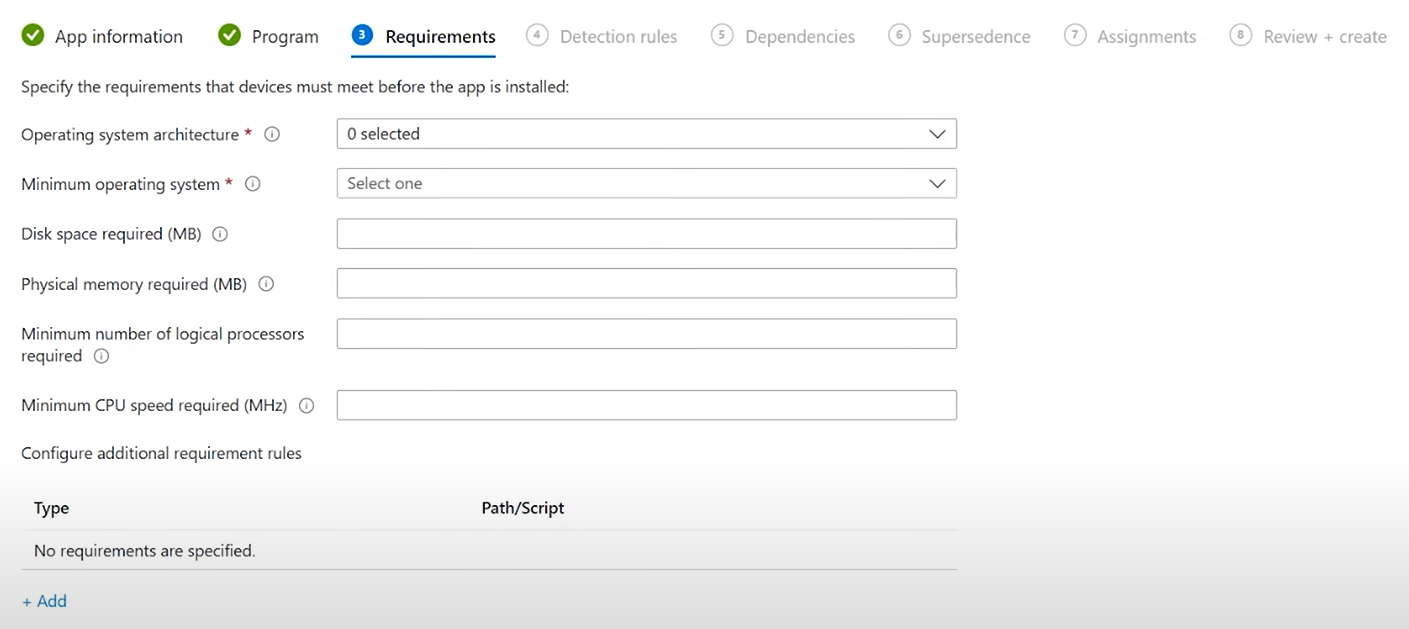
Under Requirements, select OS architecture and minimum version.

-
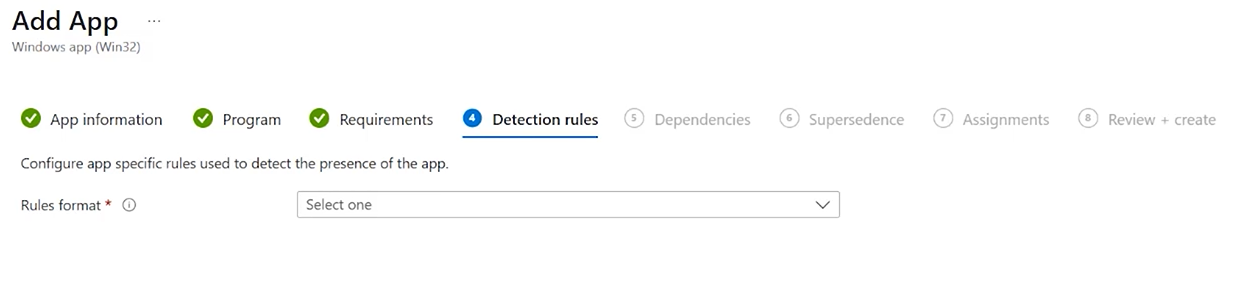
Add Detection Rules to confirm successful installation.

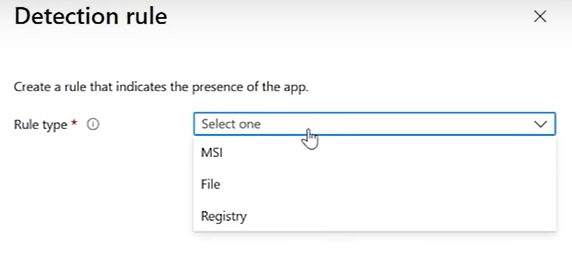
Option A: MSI Product Code (recommended if you know it)
-
Rule type: MSI
-
MSI product code:
{86638C83-CE96-4CA3-BD12-DC2F72798232}Aquila Agent Product Code/GUID}
Option B: File exists
-
Rule type: File
-
Path:
C:\Program Files\Aquila Agent -
File or folder:
Aquila Agent.exe -
Detection method: File or folder exists
Option C: Registry key
-
Rule type: Registry
-
Path:
Computer\HKEY_LOCAL_MACHINE\SOFTWARE\WOW6432Node\Microsoft\Windows\CurrentVersion\Uninstall\"{Aquila Agent ProductCode}Code/GUID}" -
Value:
DisplayName→ check exists or equals “Aquila Agent”
-
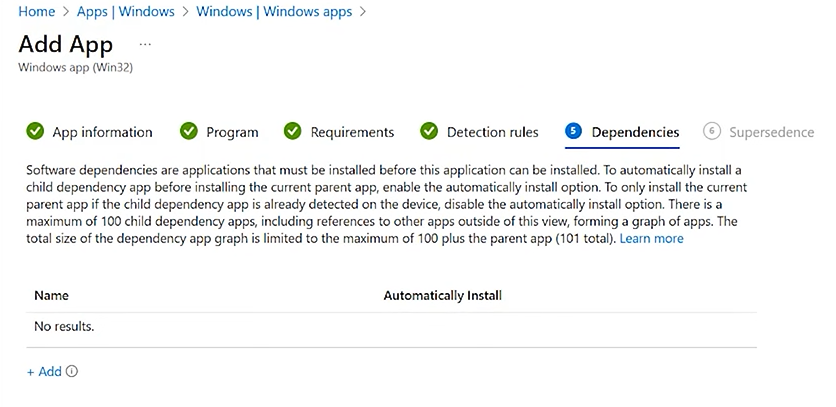
- Set Dependencies
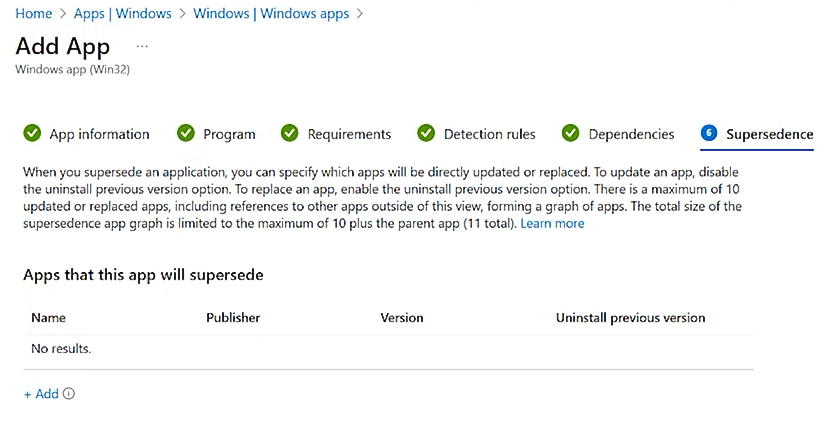
- Supersedence
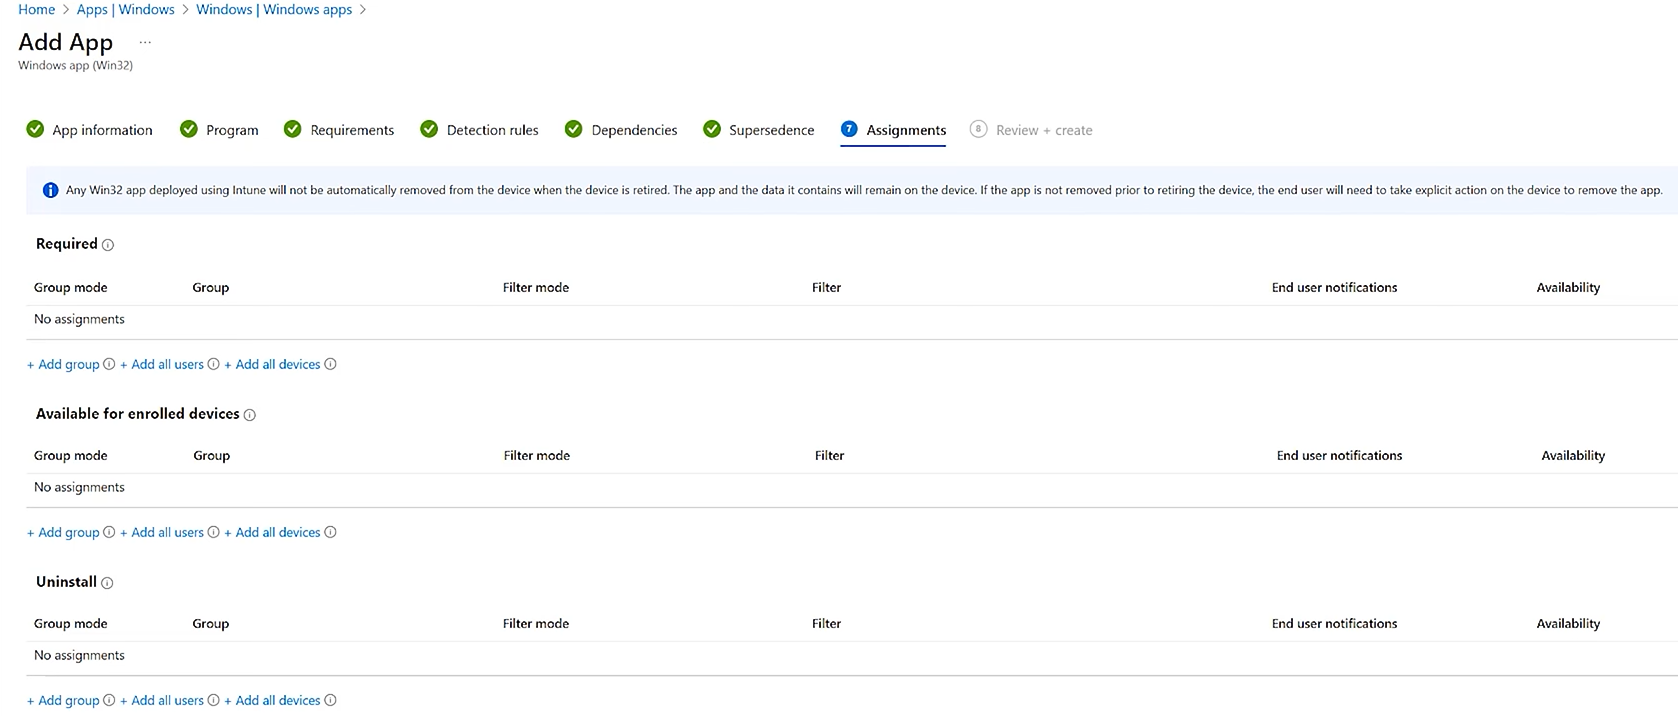
- Assignments
-
Required
-
Intune automatically installs the app on targeted devices.
-
Perfect for your Elastic/Aquila Agent deployment.
-
-
Available for enrolled devices
-
Users can see the app in Company Portal and install it manually.
-
Good for optional apps or testing.
-
-
Uninstall
-
Used if you want to remove the app from certain groups.
-
-
- Review + Create

- To get the GUID, First Open to Registry Editor:
-


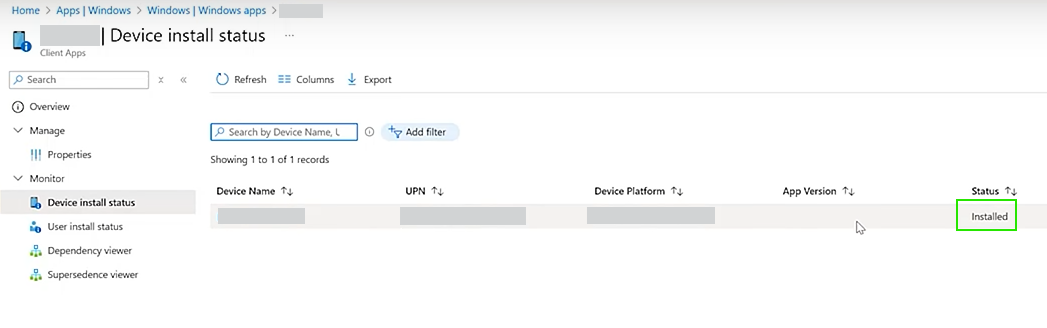
Step 3: Monitor Deployment
-
In the Intune admin center, go to Apps → select your EDR app.
-
Check Device install status to confirm successful installations.

If you need further assistance, kindly contact our technical support at support@cytechint.com for prompt assistance and guidance.